SEWING WIZARD TRAINING: Basic Pattern Alterations
One of the most important characteristics of a garment is how well it fits.
After all, what good is it if a garment is immaculately constructed but fits poorly, or is even unwearable?
This lesson will help you achieve a personalized fit with your sewing projects.
Here’s what you’ll learn in this lesson:
- How to do basic alterations on finished garments (when possible)
- The two most common types of fitting issues, AND how to adjust for them
- Visual references on your sewing pattern for convenient fitting
- A helpful tool to use for pattern alterations (I'd be lost without mine!)
Sewing Wizard Newsletter
Subscribe for more FREE sewing lessons, announcements, special offers, and more!
Your contact information is safe with us! Here is our privacy policy.
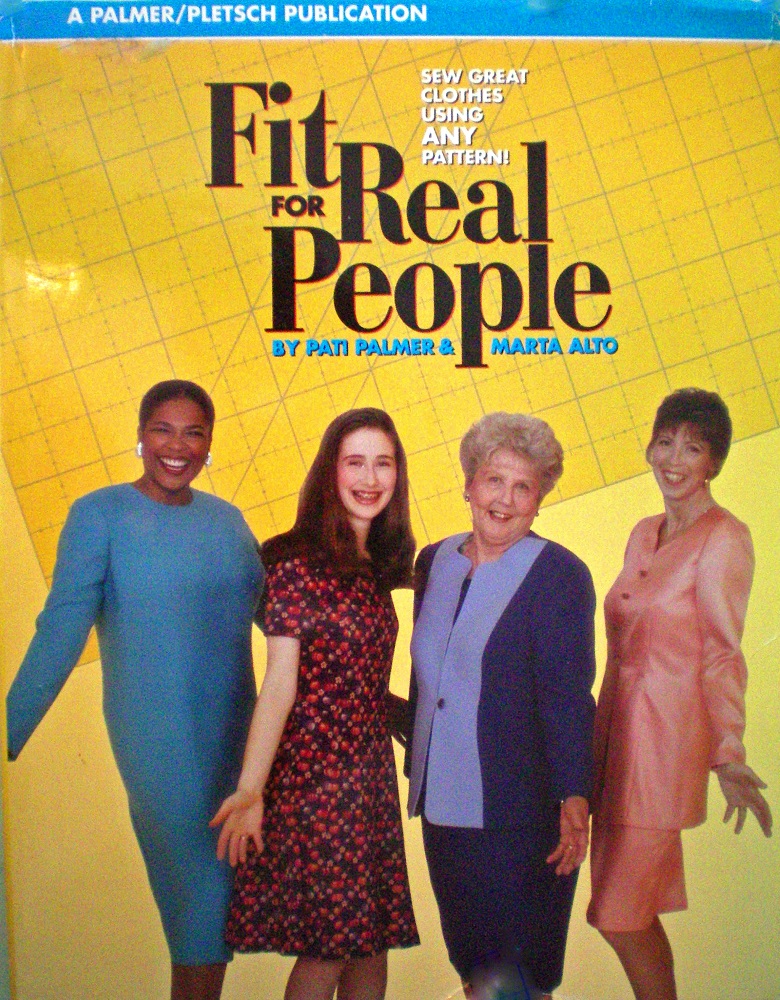
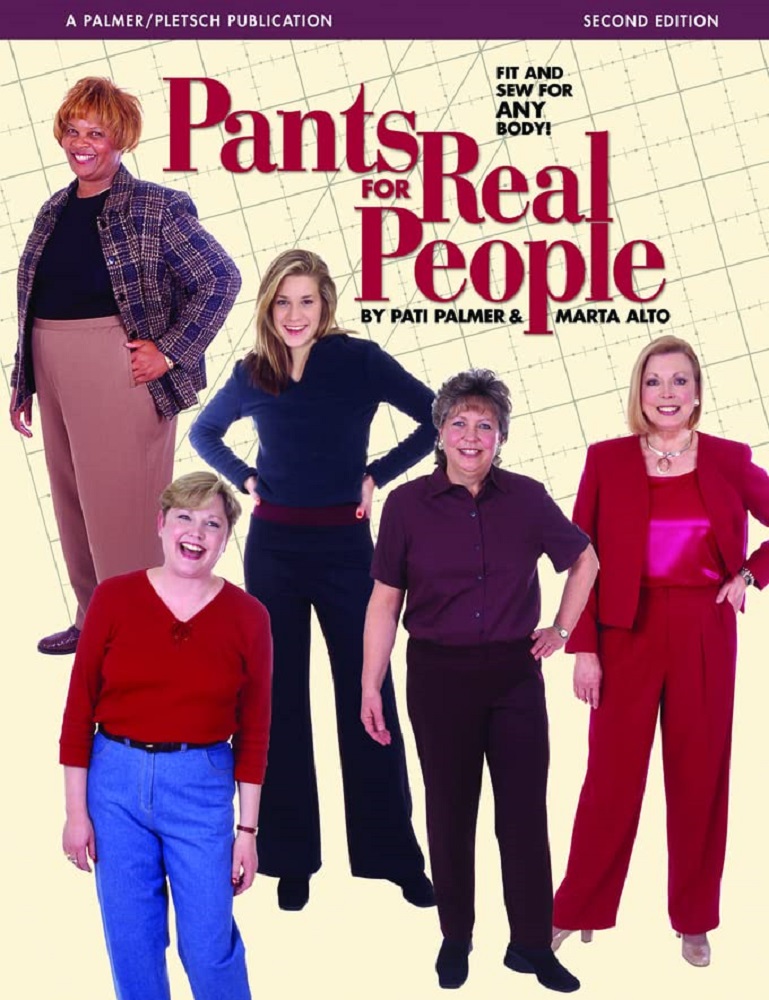
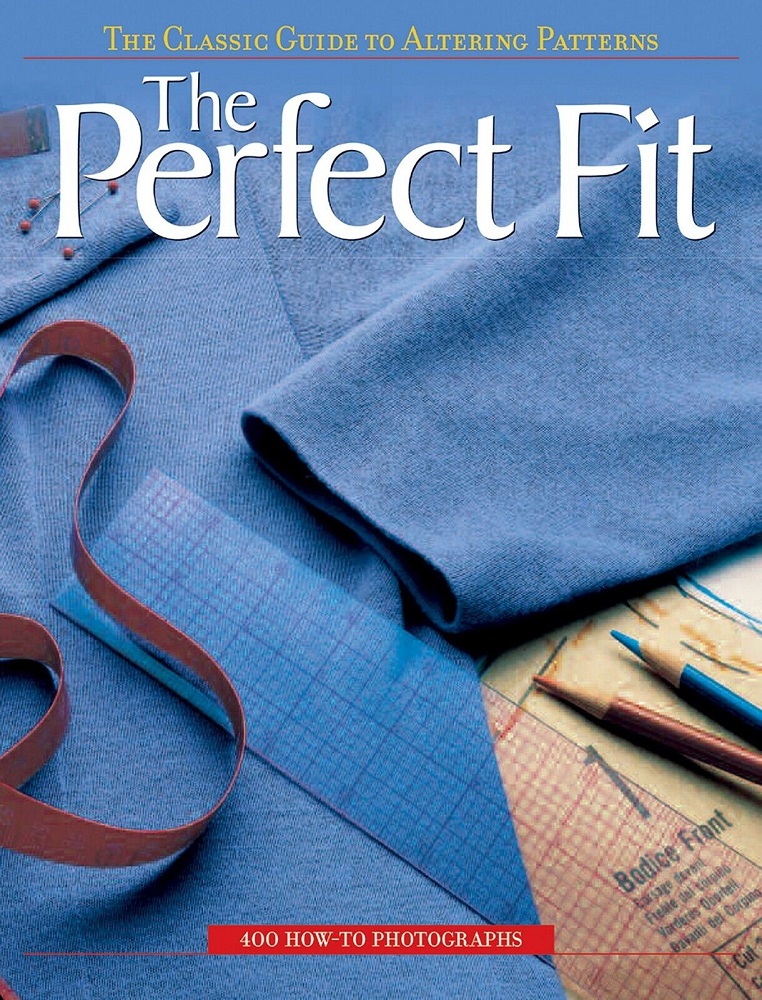
Entire books have been written about fitting and alterations; here are a few I’ve referenced over the years:
Here we’ll be covering some of the most common issues and how to adjust for them.
Basically, the most common fitting problems fall into two categories:
- Horizontal (it’s too tight or too loose)
- Vertical (it’s too short or too long)
Basic Garment Alterations
This first technique is mainly for garments that are already made, or partially made.
Depending on the seam and hem allowances, you may be able to take it in or let it out in some places, at least a little bit.
The first step is to determine what area is the problem, and what you have to work with.
For example, let’s say you have some pants, and you need to take the hips in by an inch.
That’s half an inch on each side, and working with only the side seams, you could take in that side seam line by ¼” on each side where it’s too loose, tapering out of the original seam line and then back into it.
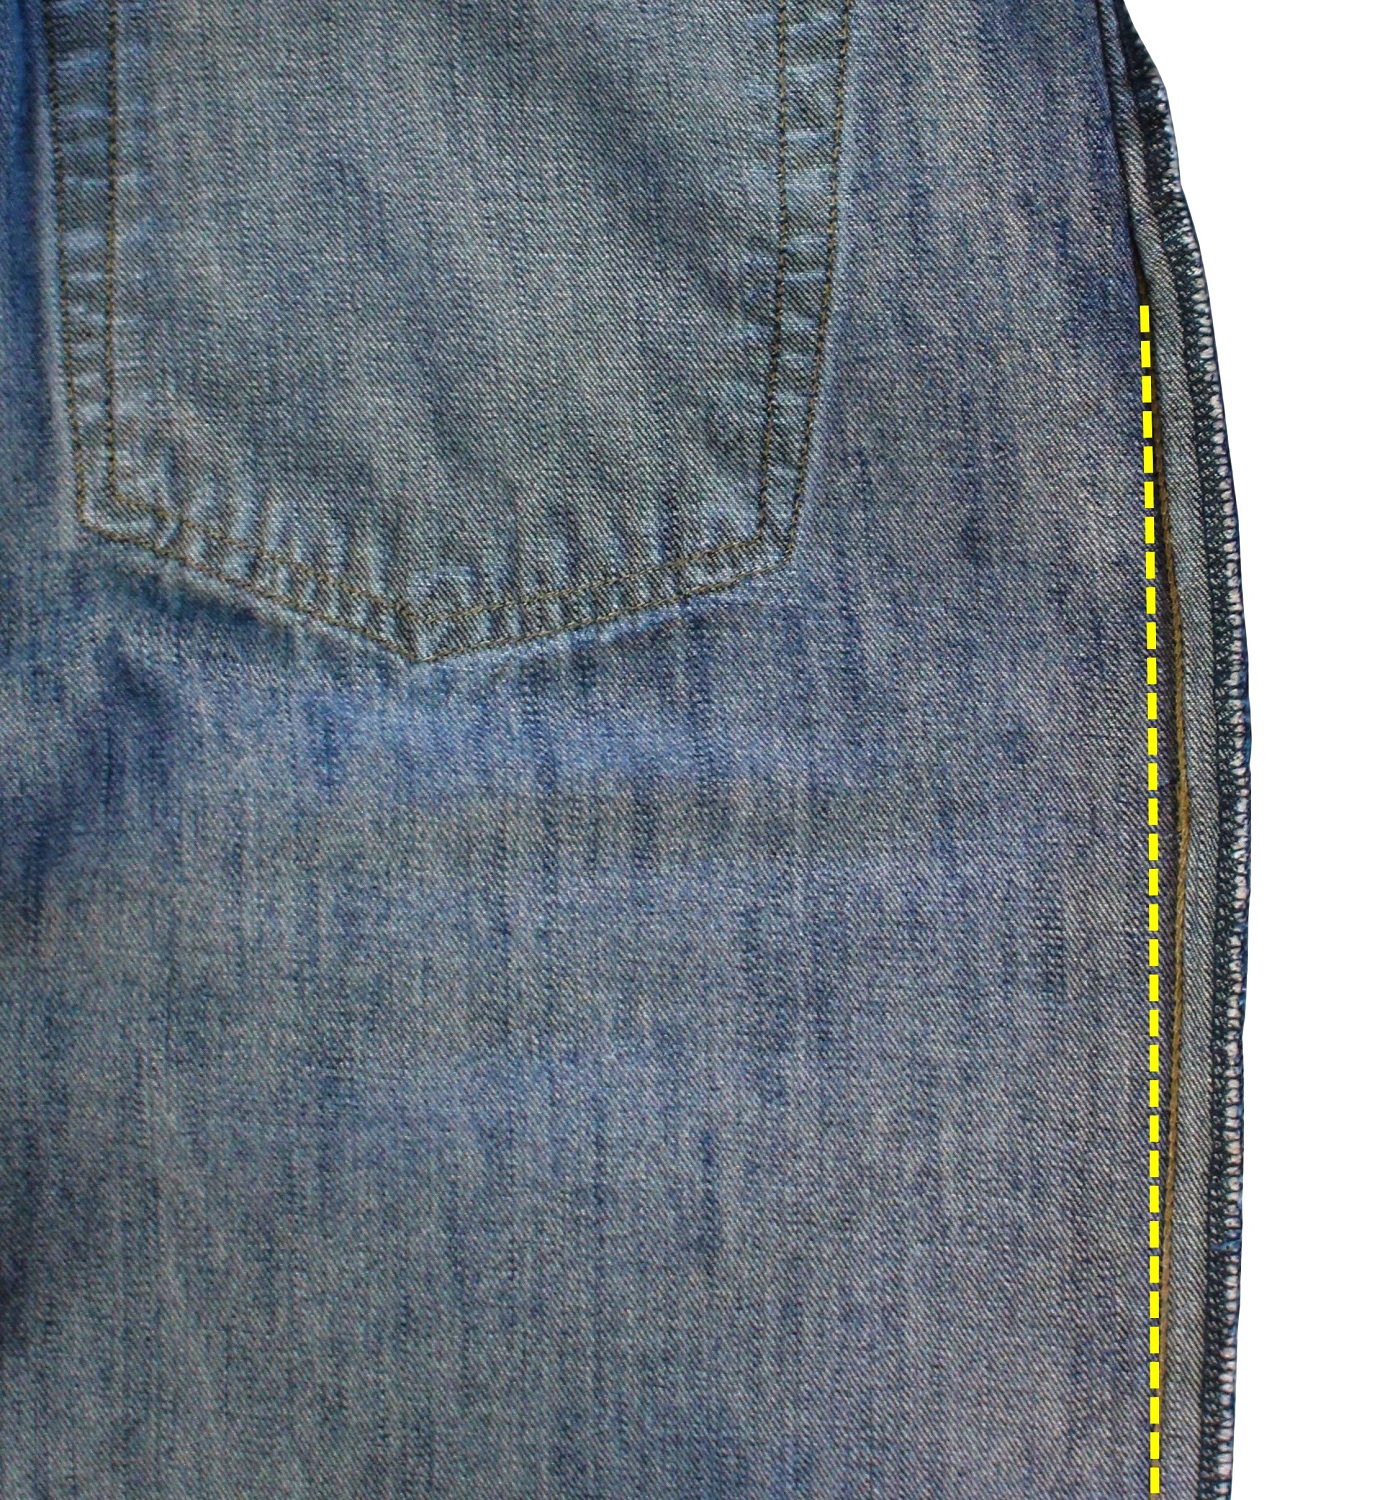
Then you can just leave the additional seam allowance, in case it might need to be let out again later.
Or you could trim the allowances down so they’re a consistent width, then serge and press the allowances like the rest of the seam, to make it look like the garment had never been altered.
To let out a seam, you’re limited by whatever there is to work with inside the seam.
For example, let’s say you need to let the hips out by an inch.
If the pants have ⅝” seam allowance, you can just shift those side seam lines over ¼” and remove the previous stitching in that area.
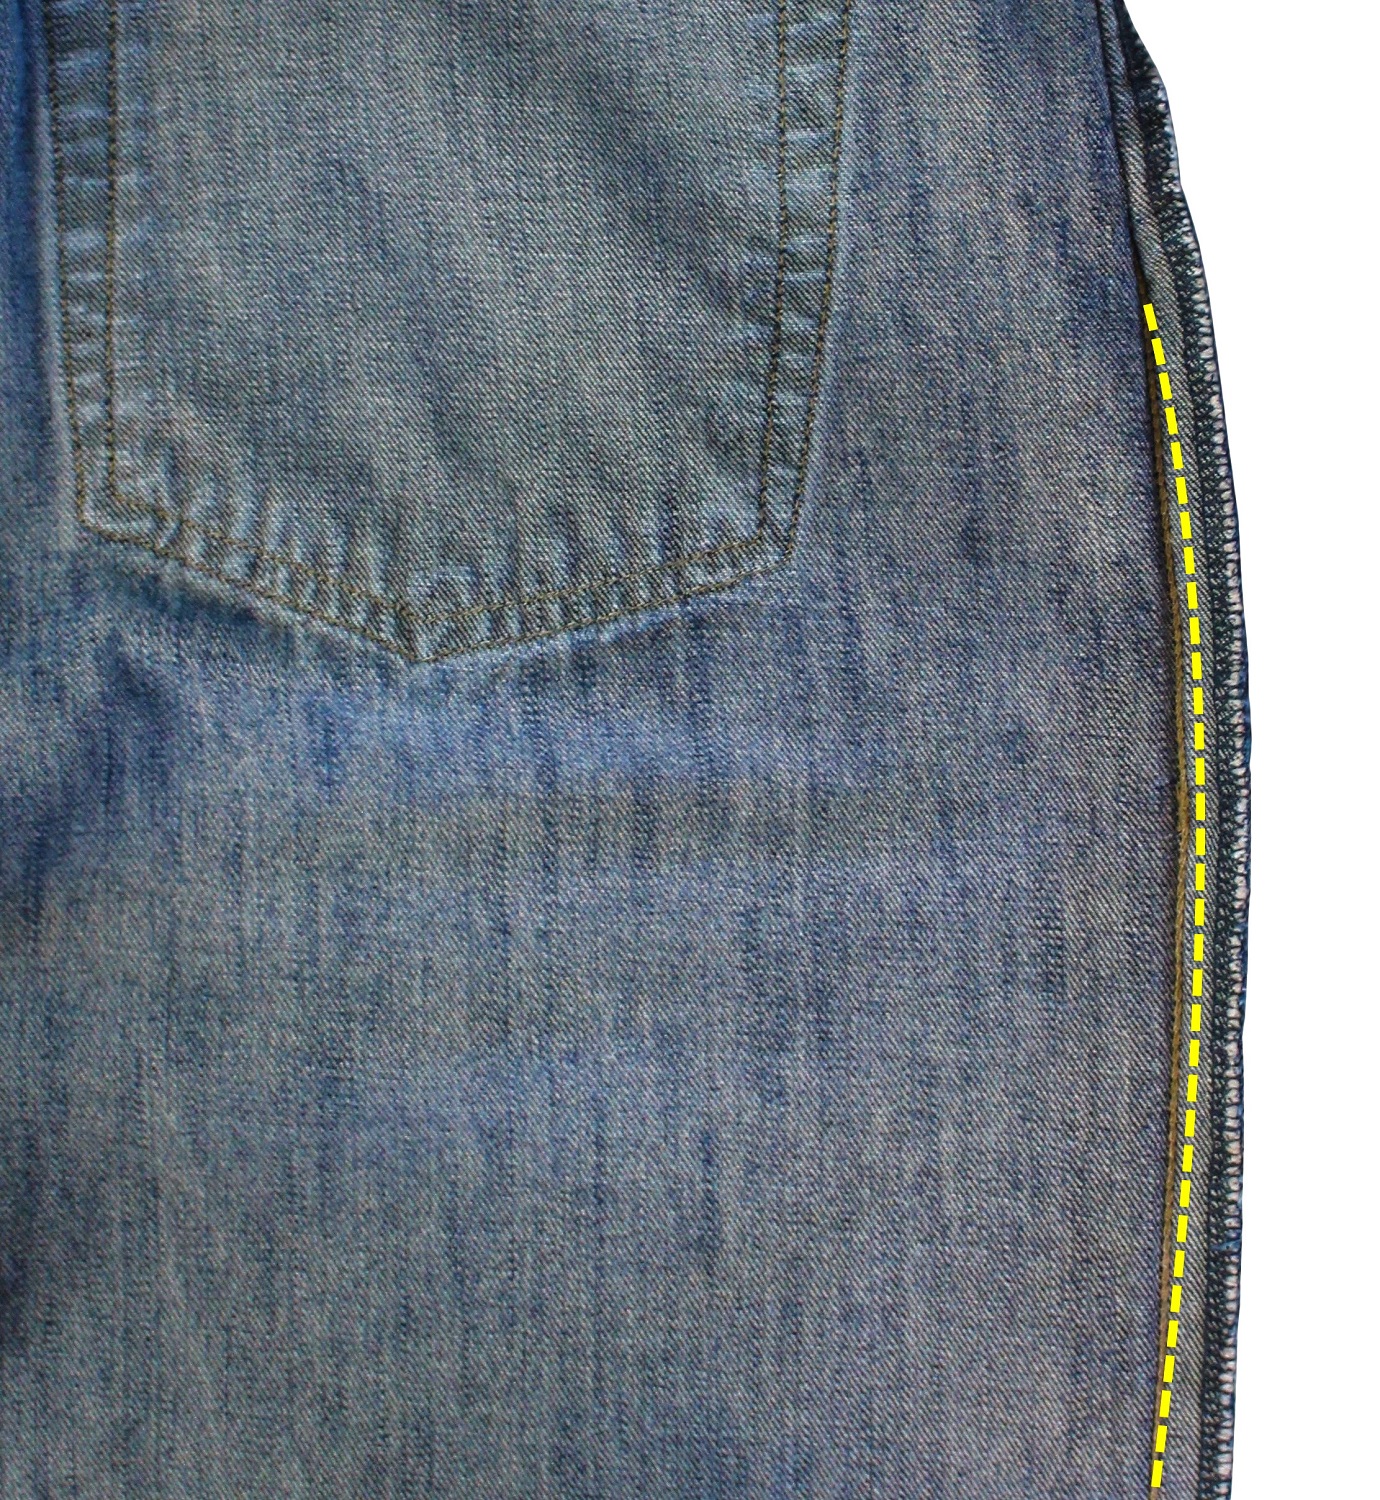
But if you need to let it out more than that, or if there simply isn’t enough allowance inside the seam, then the most viable option is probably to insert a little “gusset” panel into the seam to expand the area.
These principles apply to hems, too.
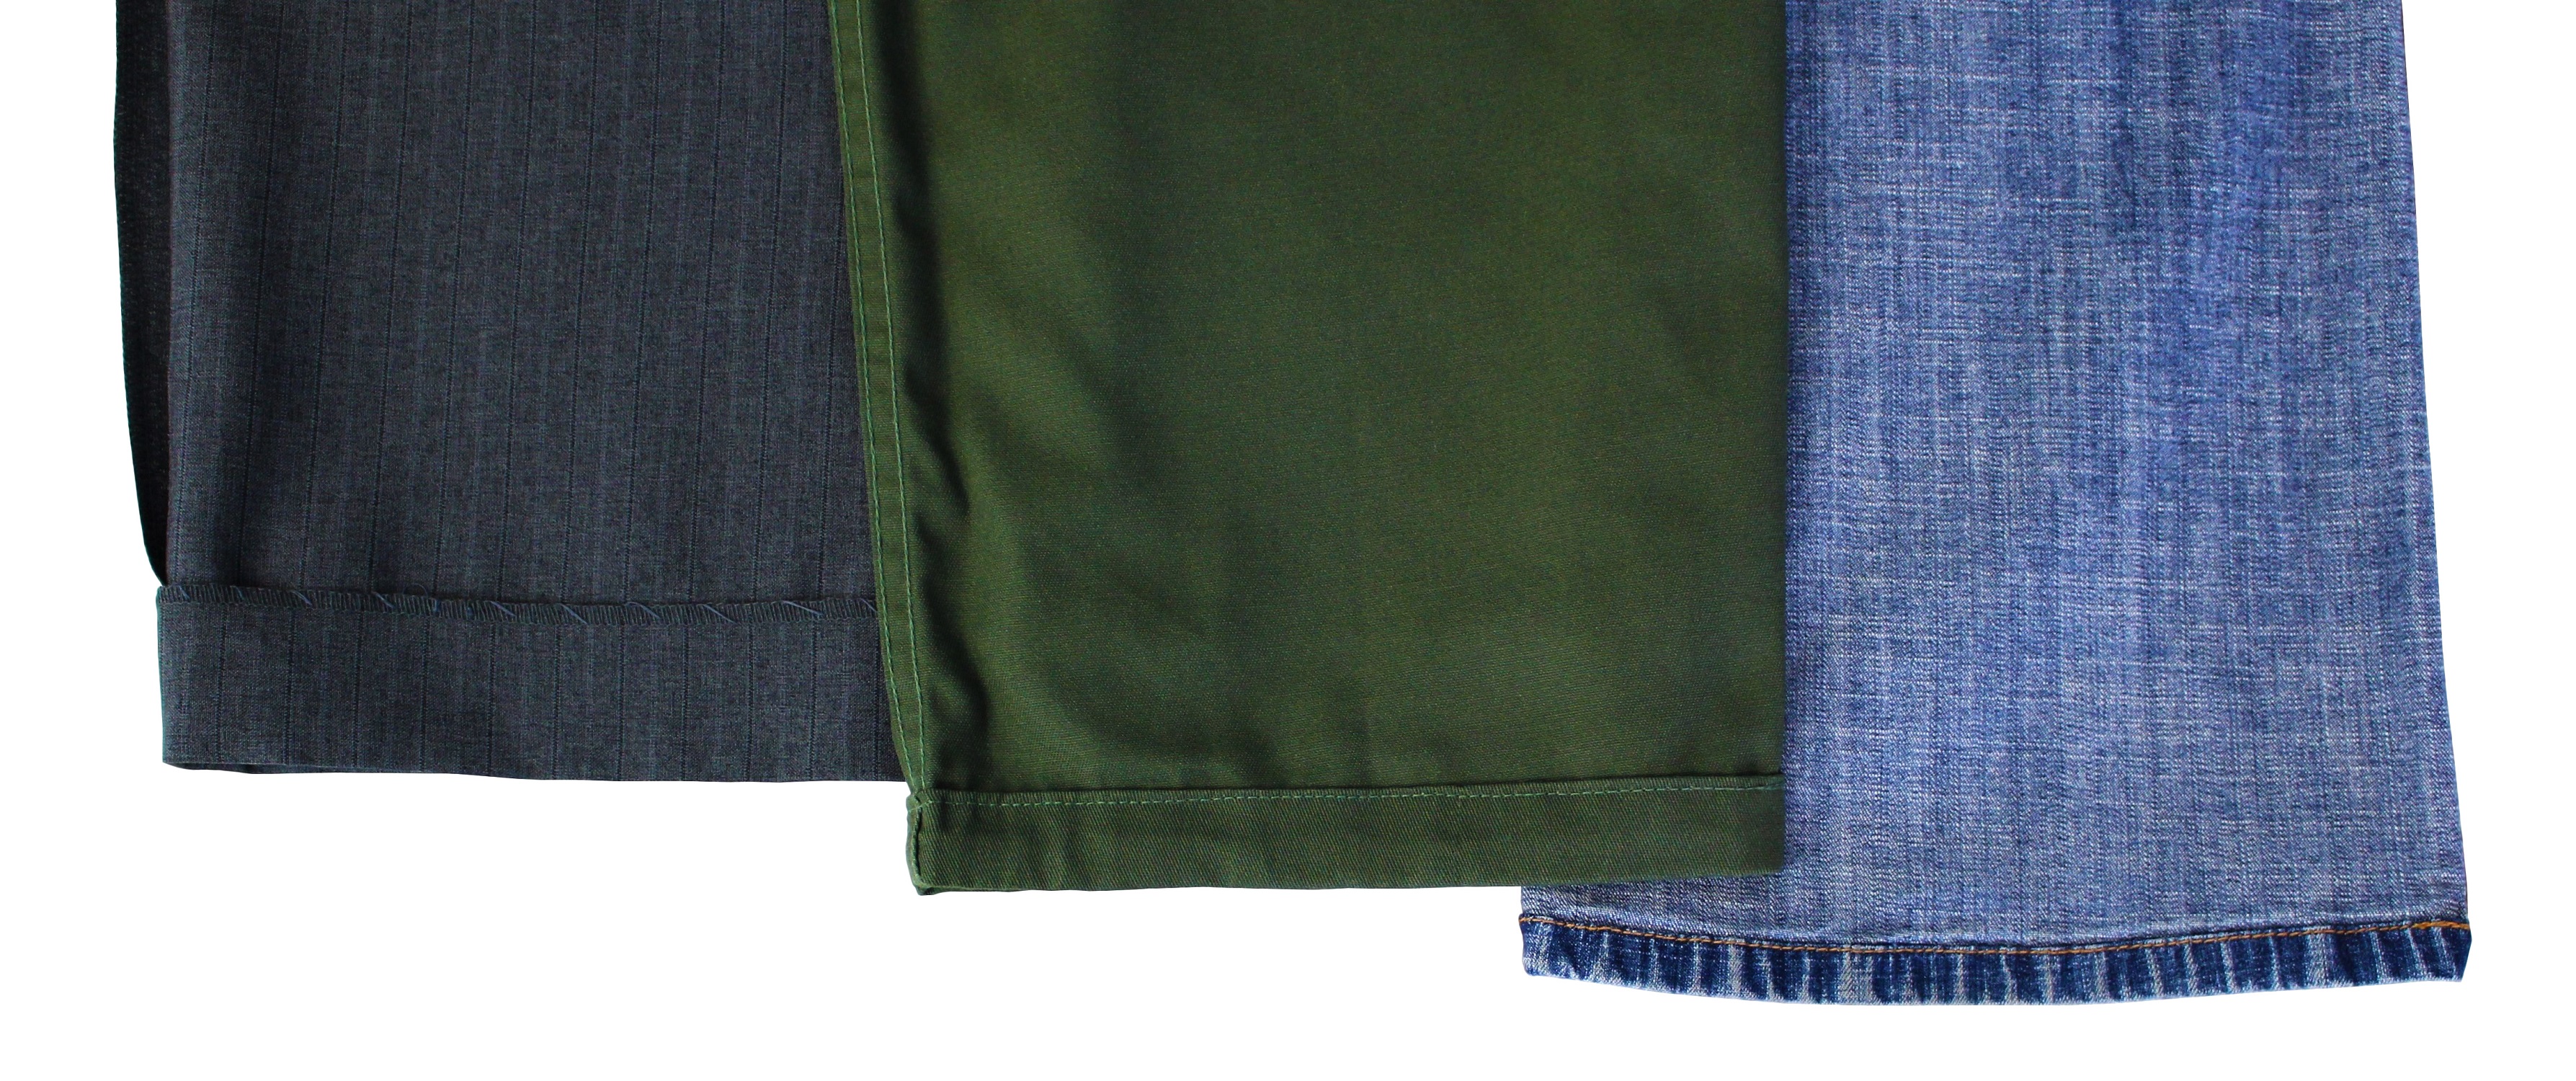
If you have some pant legs that are too short, it may be possible to just let out the hem some so they’re longer.
Dress pants usually have a couple inches or so to work with at the bottom.
Pants with cuffs at the bottom have even more.
Simply let out the hem or cuff to the desired length, then re-hem it or make the cuff again.
With khakis, and especially jeans, though, there’s usually not a lot of hem allowance; the most you’ll probably be able to let out the hem is maybe ½” (or possibly ¾” for khakis).
Sleeves are kind of hit-and-miss, too.
With jacket and coat sleeves, there may be some allowance inside to work with.
But if the sleeves have vents, you’re stuck between a rock and a hard place.
Depending on how the vent’s finished, you might be able to raise or lower it by half an inch at the most … maybe less, maybe not at all.
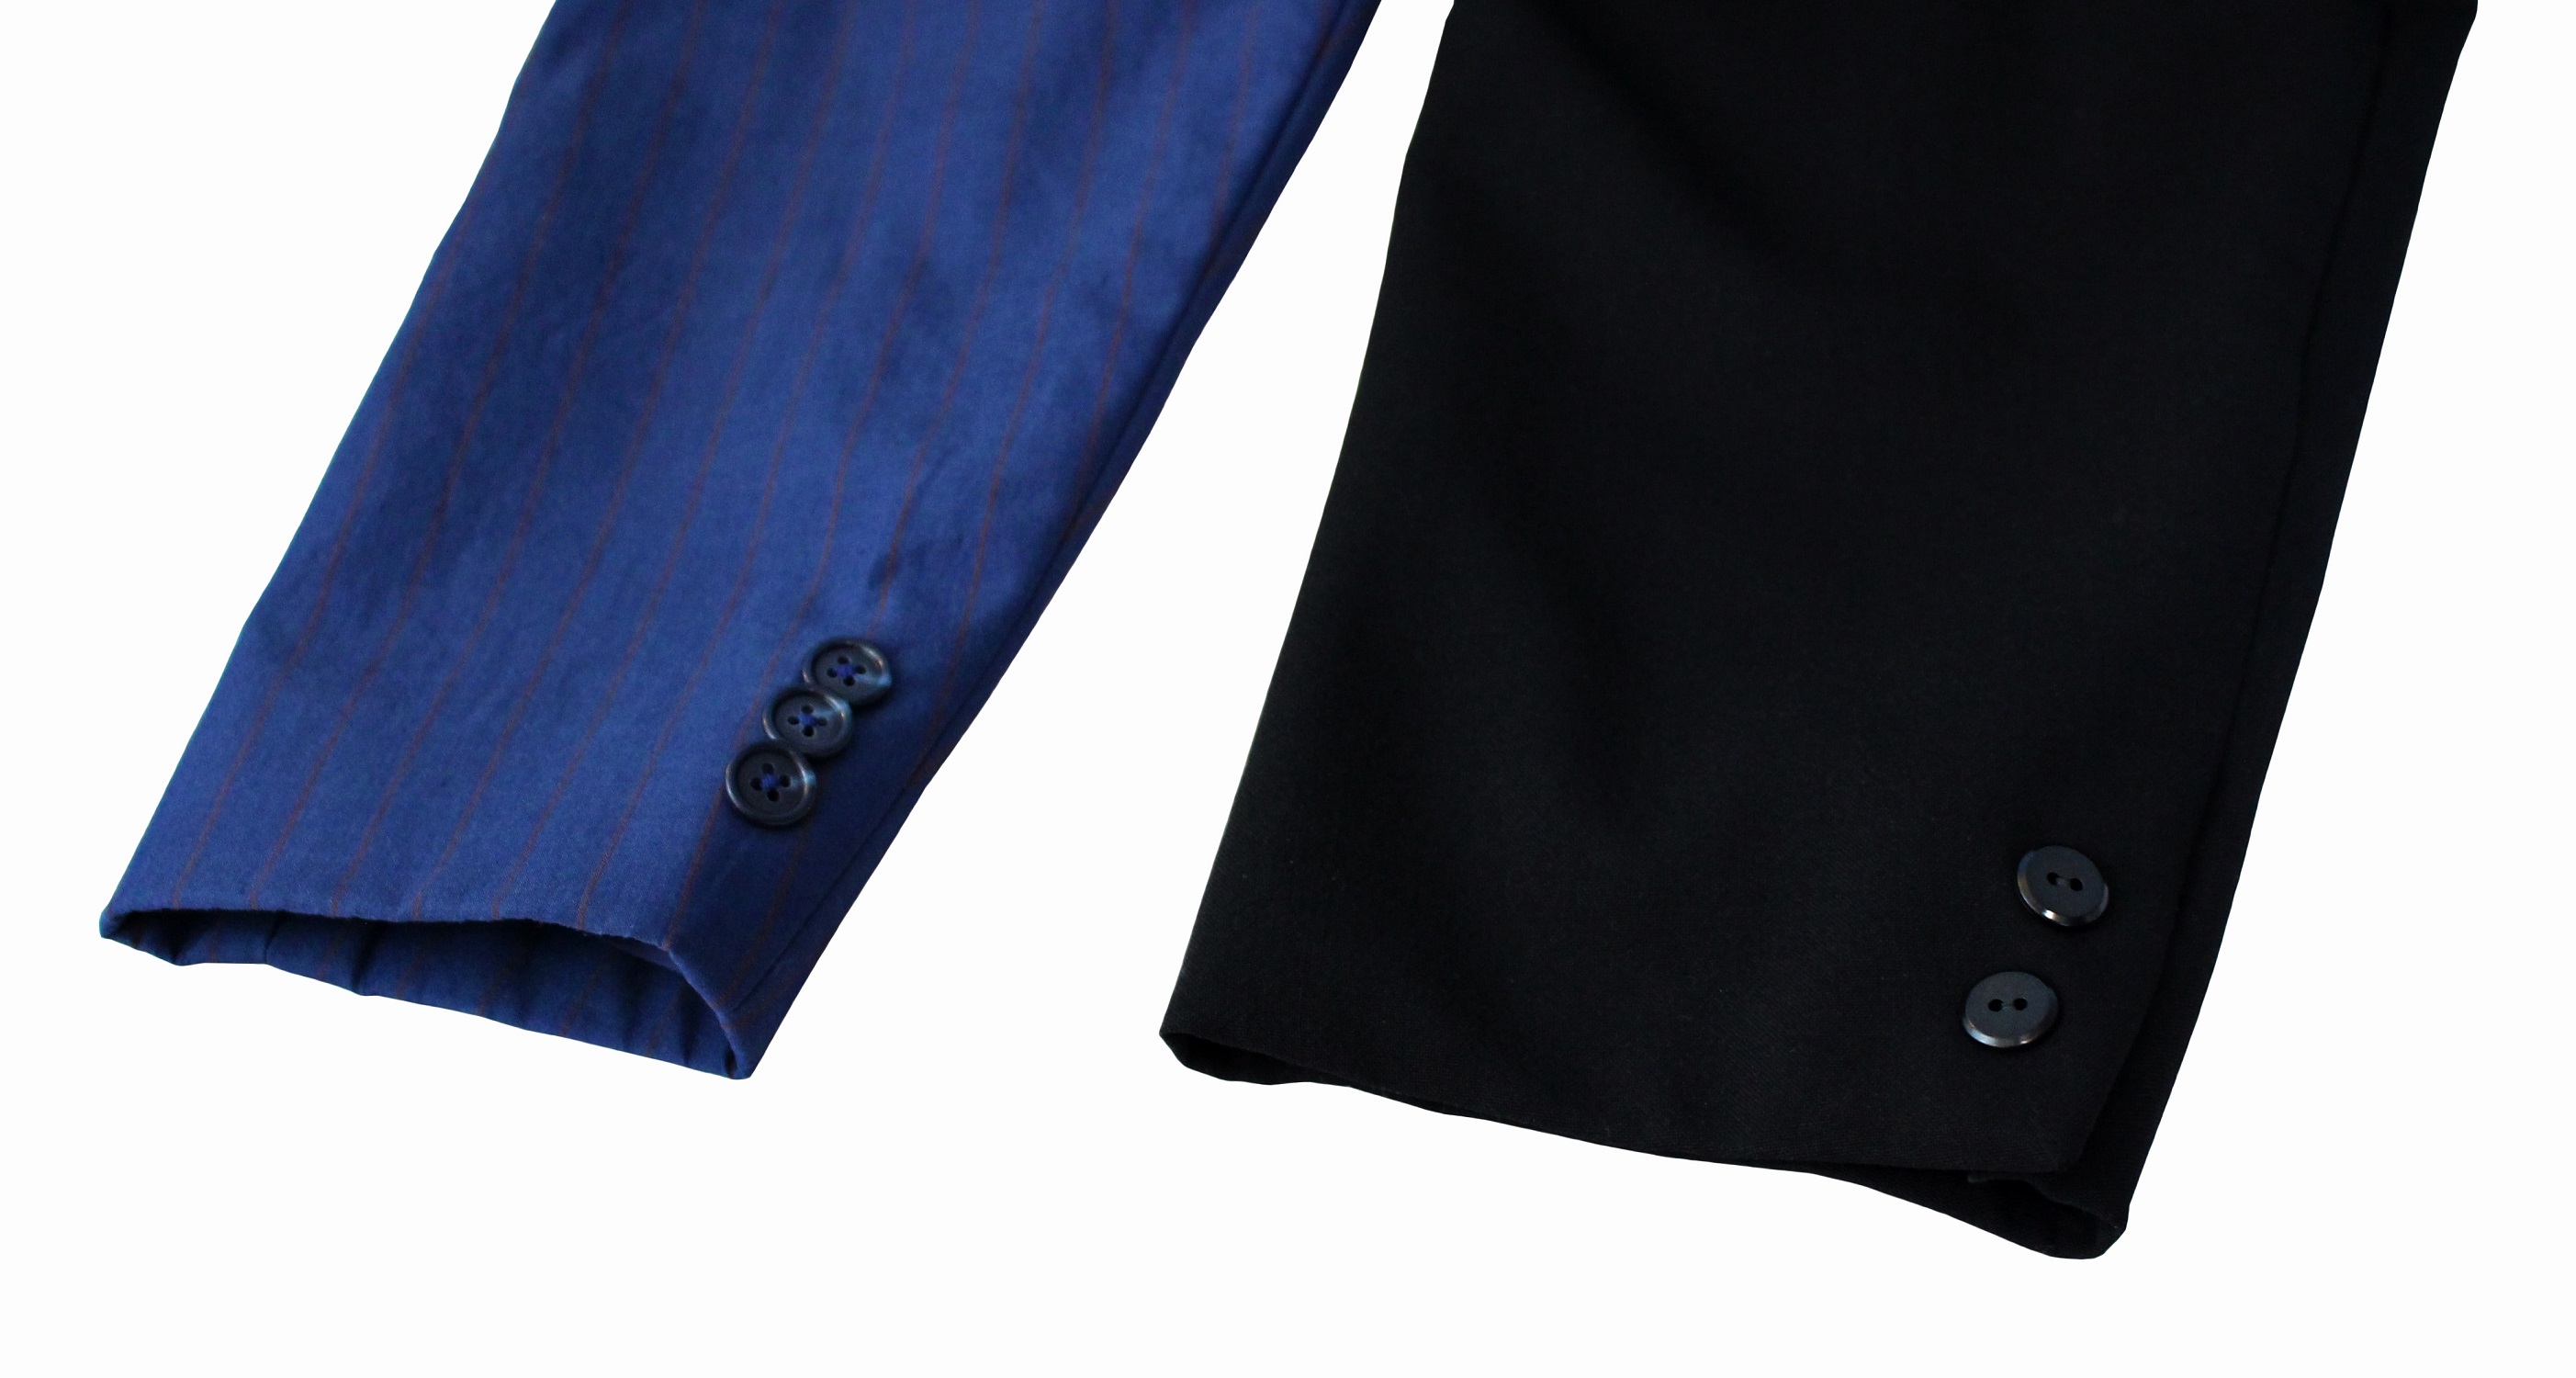
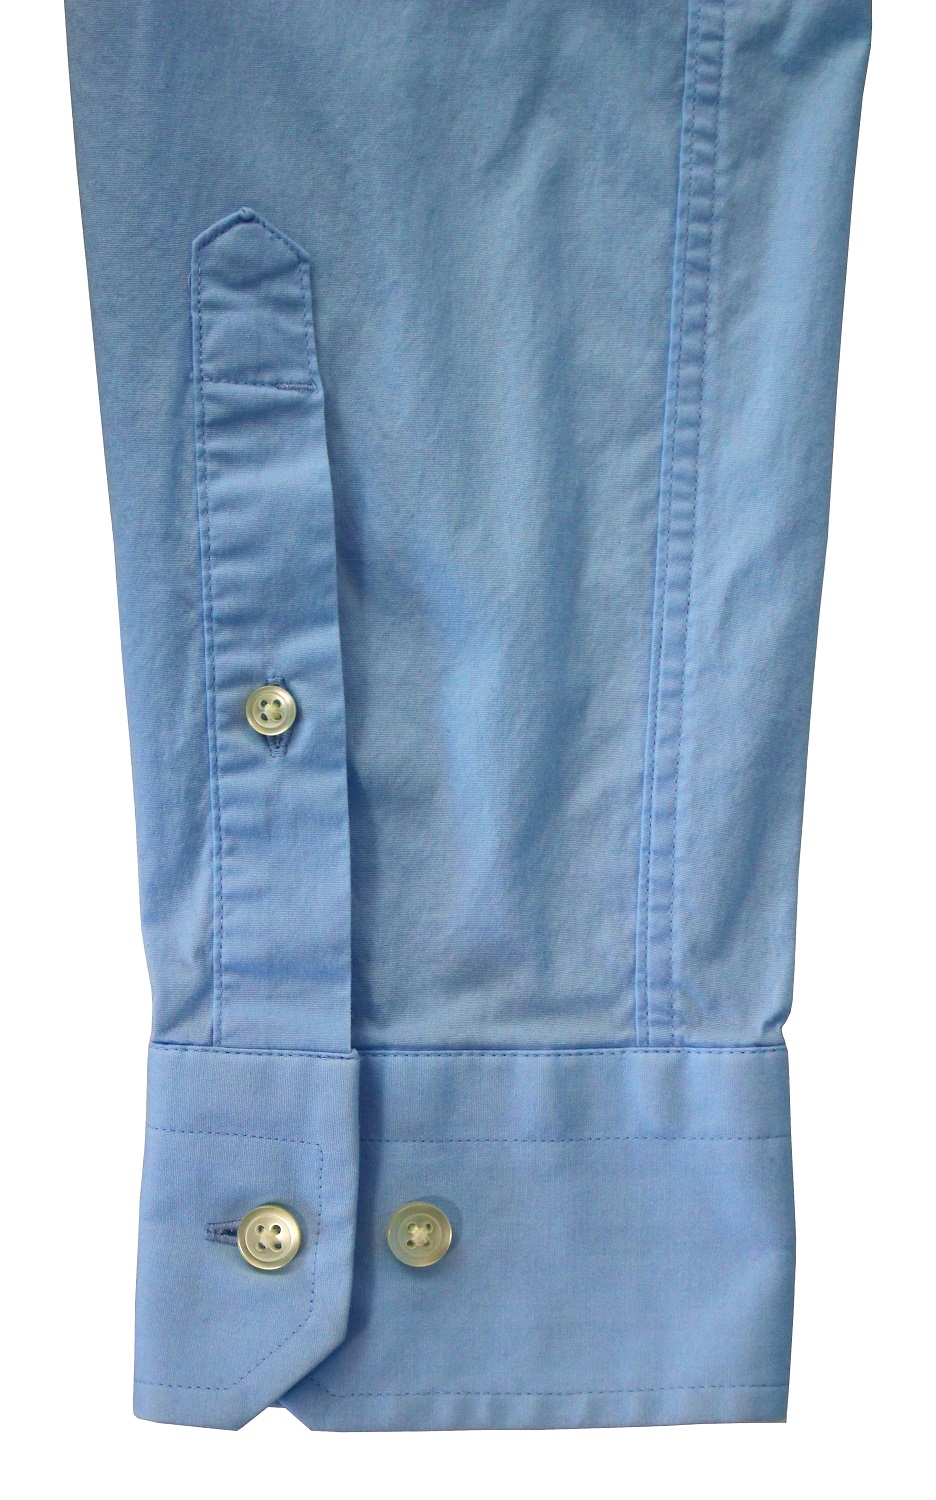
And if it’s a shirt sleeve (with a cuff), you probably won’t be able to lower it at all, since shirt seam allowances are usually only ¼”.
And to shorten the sleeve, you’ll have to take the cuff off to raise it, but that will make the placket shorter – unless you want to take it off and raise it too!
Basic Pattern Alterations – Horizontal Fitting
Fitting issues are generally much easier to correct and plan ahead for at the pattern stage.
And since these courses are primarily about making costumes and clothes, we have that luxury!
Just cut it so it fits right – whether it’s for yourself, or you’re making it for someone else.
The following two techniques involve working with the pattern itself.
Older sewing patterns usually only include a single size, but most modern sewing patterns include multiple sizes.
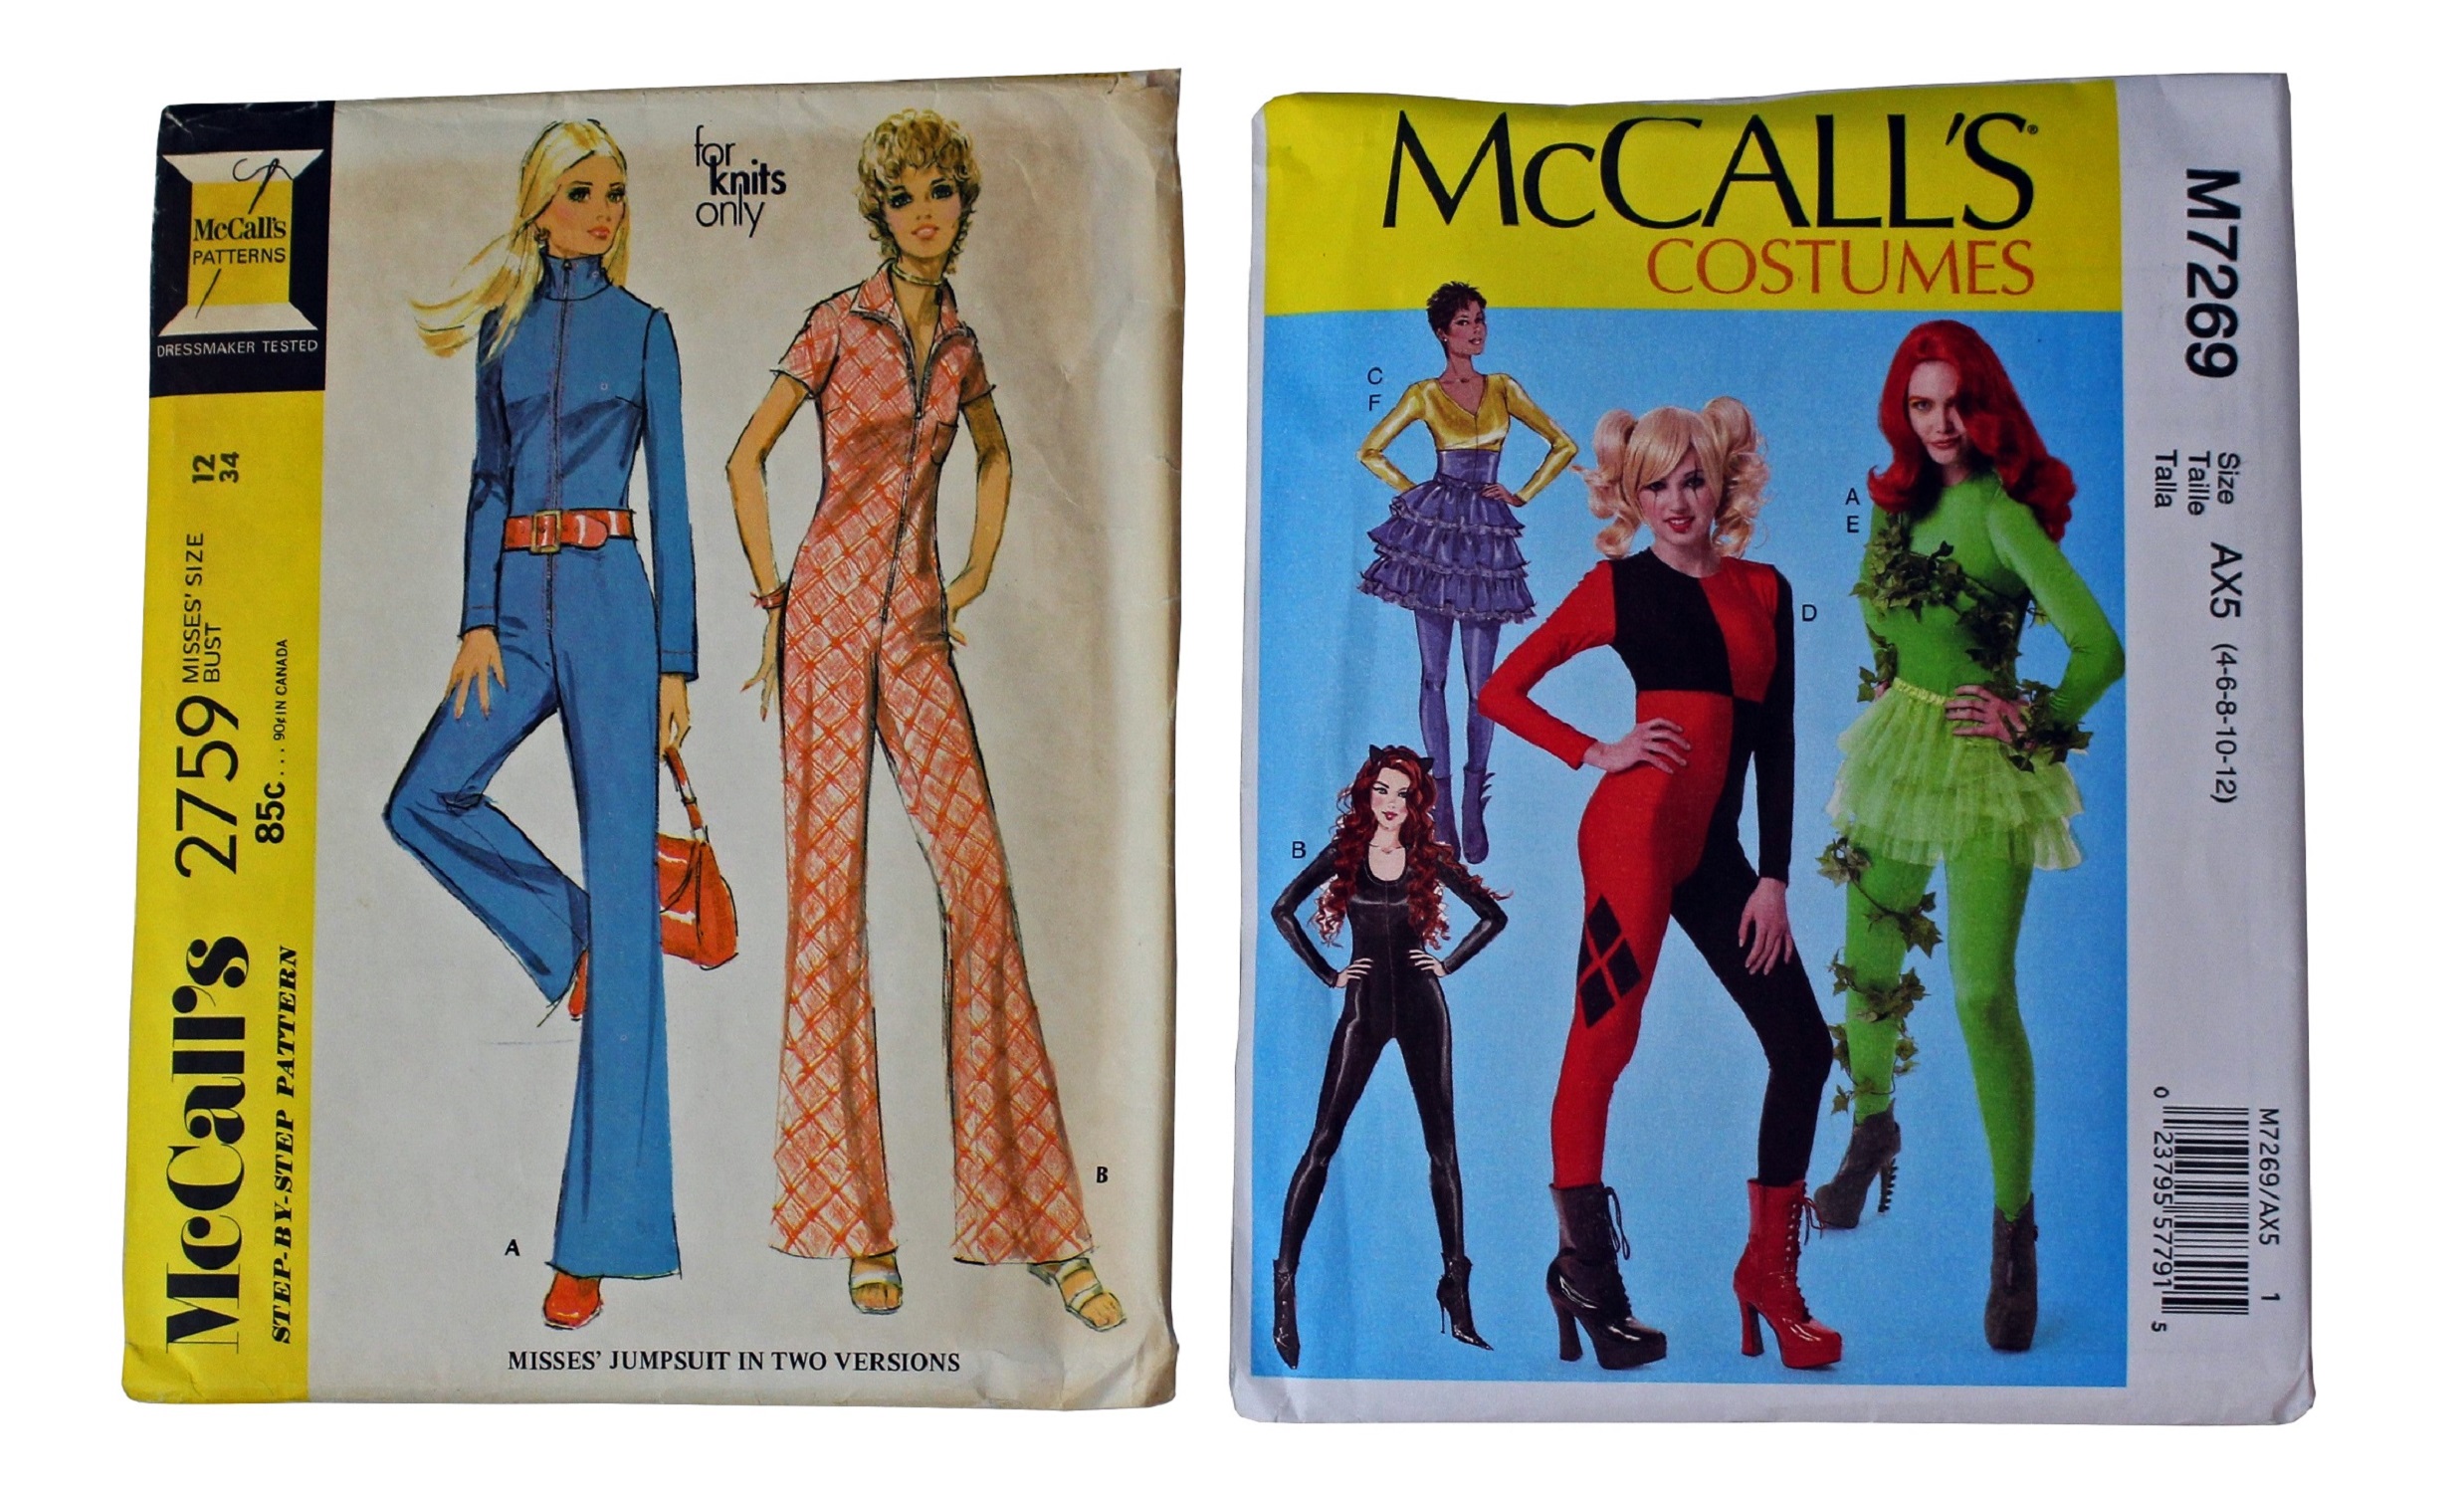
These sizes are usually based on statistically-proportionate measurements – or at least, whatever the pattern-maker or pattern company believes them to be.
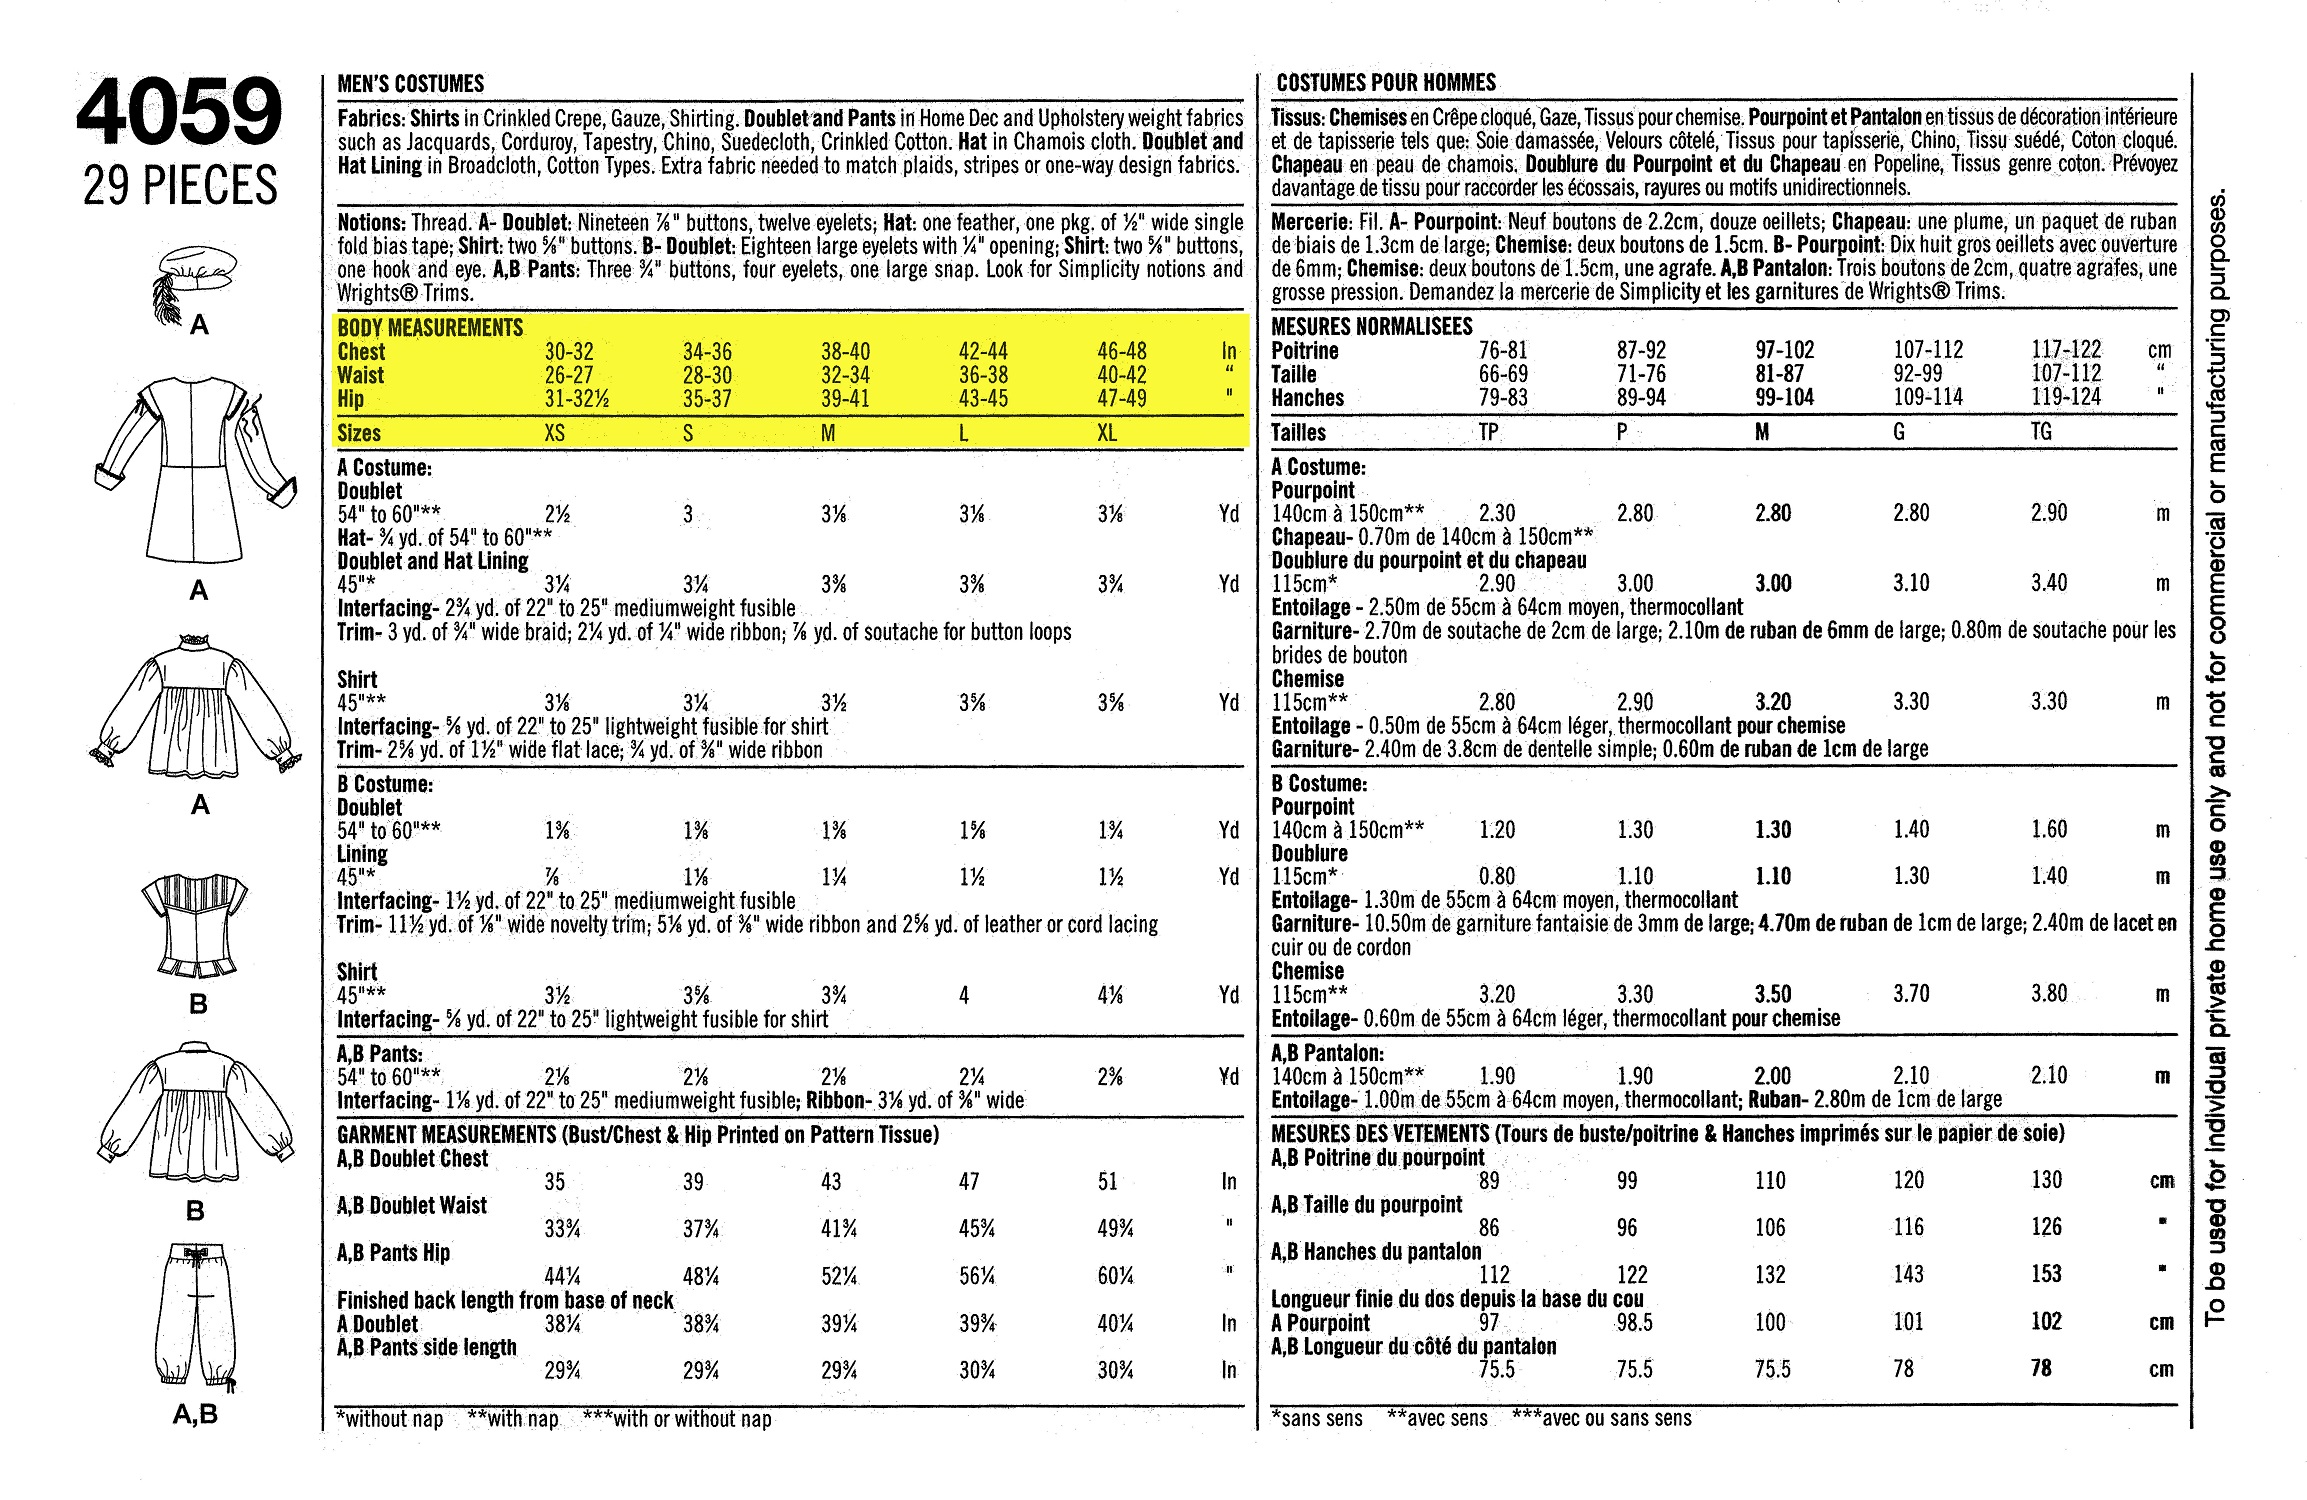
In other words, if your chest or bust is this size, your waist is probably this size, your hips are probably this size, and you’re probably this tall, etc., etc.
This may be the case for you, and if the pattern measurements match yours, then perfect! You can just use the pattern as it is.
But people come in all different shapes and sizes, and there may not be a single size that fits your measurements.
You may be one size in the chest, a different size in the waist, and another size in the hips. (This is especially true for women.)
Professional sewing patterns are usually laid out in a way that allows you to “mix-and-match” pattern sizes, using the following technique.
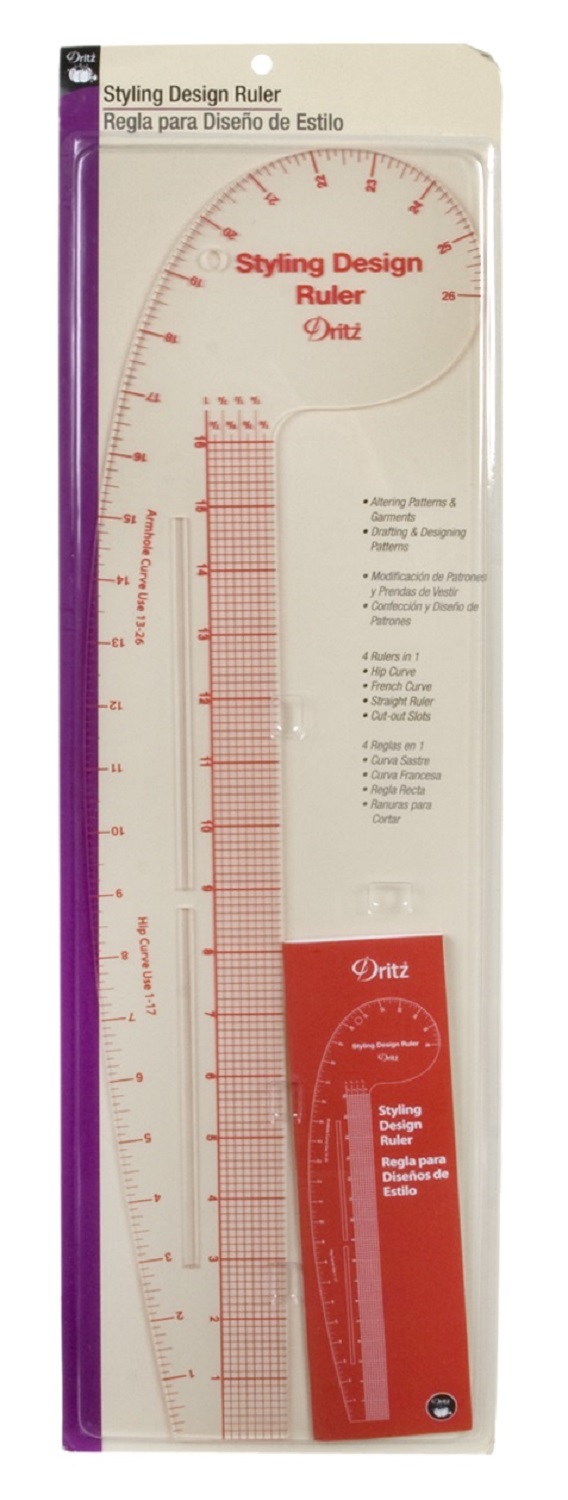
For this, it’s helpful to have a couple hip curve rulers like these:
What one can do is actually segue from one pattern size to another.
Hypothetically, let’s say size the pattern’s size 10 is a good fit around the chest/bust, but the waist is too tight and we want the next size up for the waist.
The curved ruler can be used to taper from one size to the other as smoothly as possible. (See the example on the right.)
Mark your new cutting edge on the pattern.
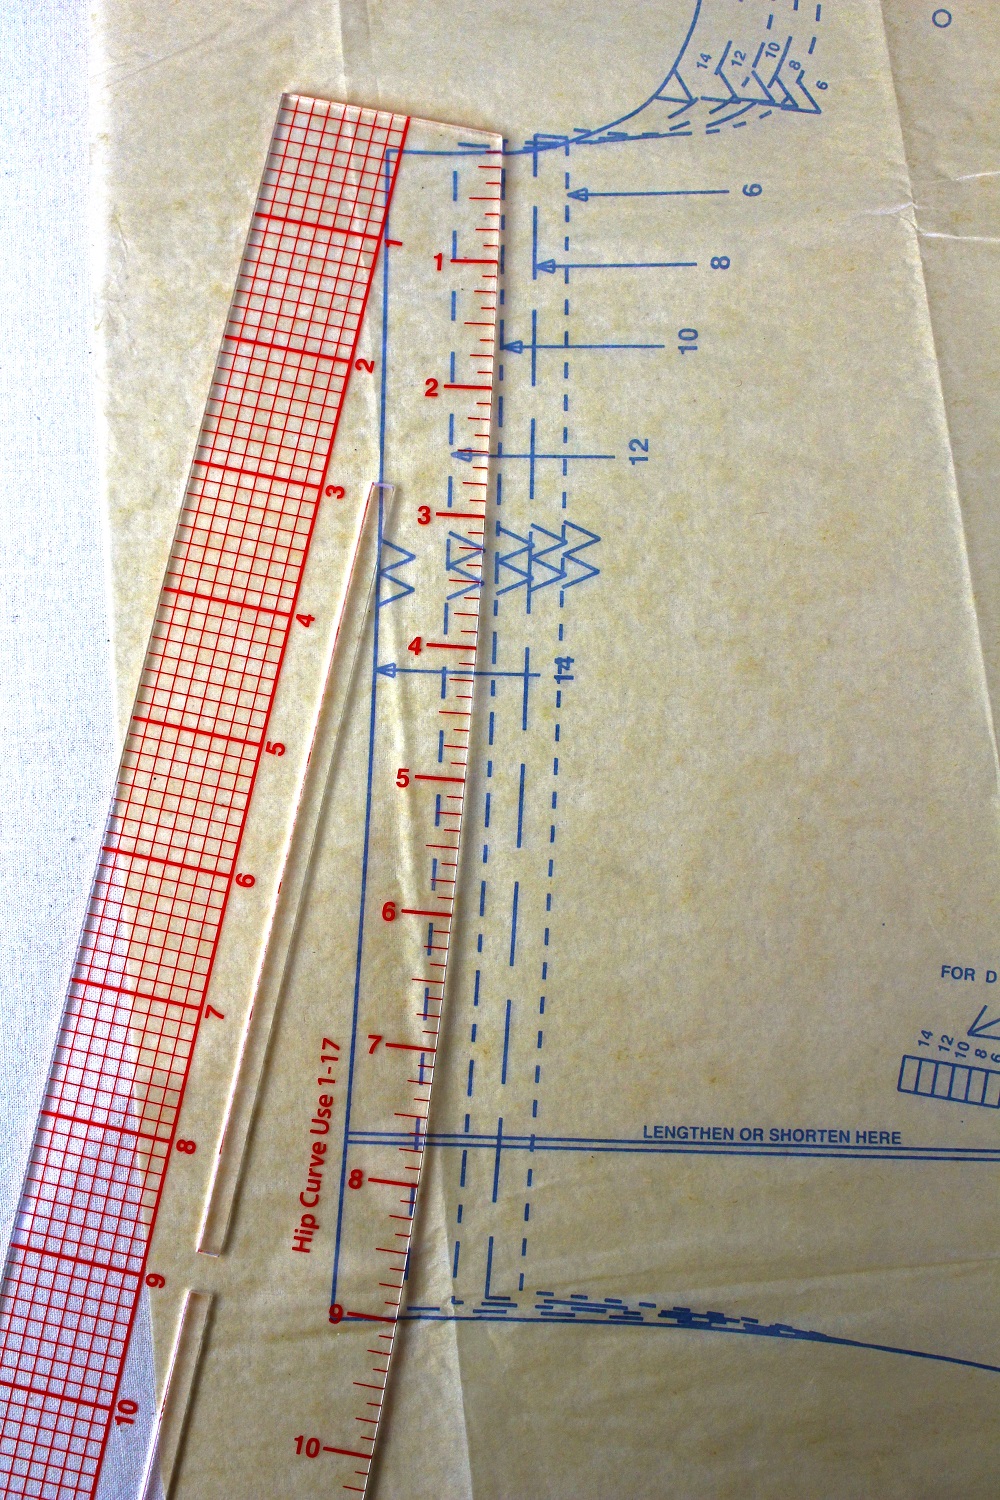
And you can taper between multiple sizes if you need to! They don’t have to be adjacent sizes.
You can also do this several times up and down on the same pattern – chest to waist, waist to hips, hips to knees, whatever you need to help sculpt the garment to your body.
Basic Pattern Alterations – Vertical Fitting
So those are for horizontal fitting issues – too loose or too tight.
For vertical fitting issues – the garment being too long or too short – patterns usually include an aid called lengthen/shorten lines.
They’re usually two horizontal, parallel lines close together, and depending on the type of garment, there may be two, three, or even four pairs of these on the pattern.
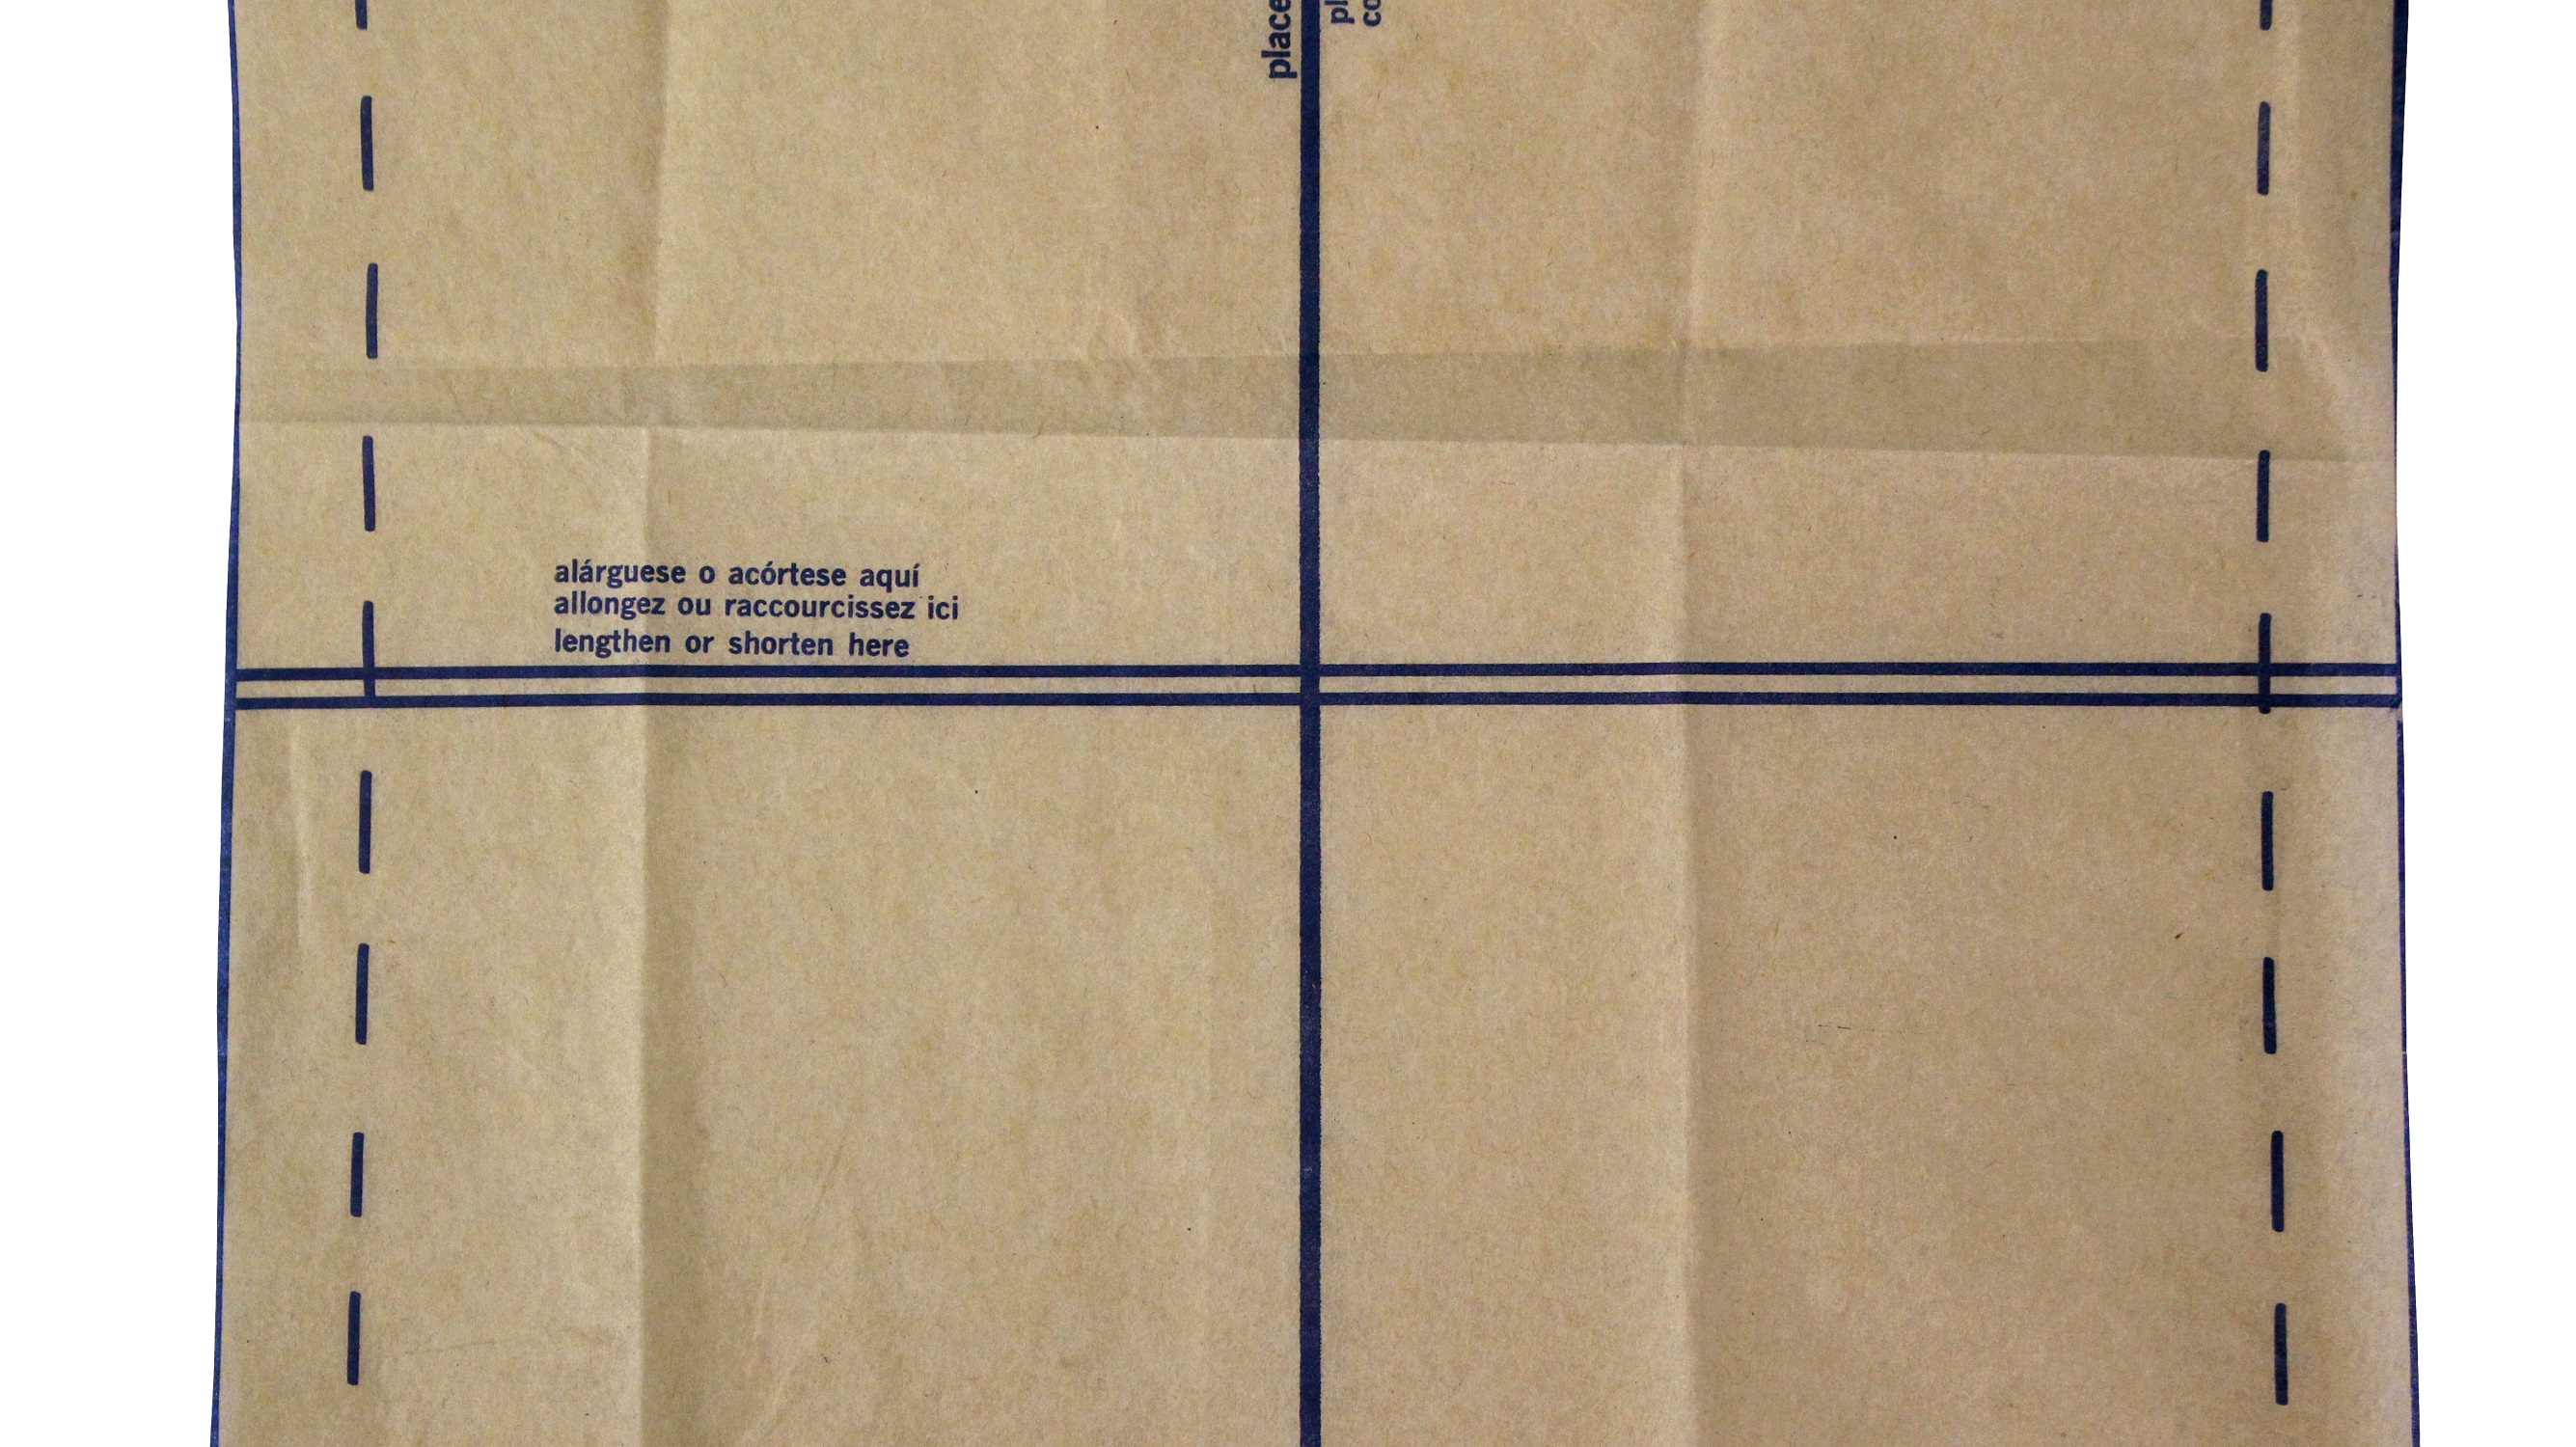
If your pattern is too long for you, determine where and by how much, then just fold it upward along those lines.
For example, if need to shorten it by 1”, using a ruler, draw a line 1” above the lengthen/shorten lines.
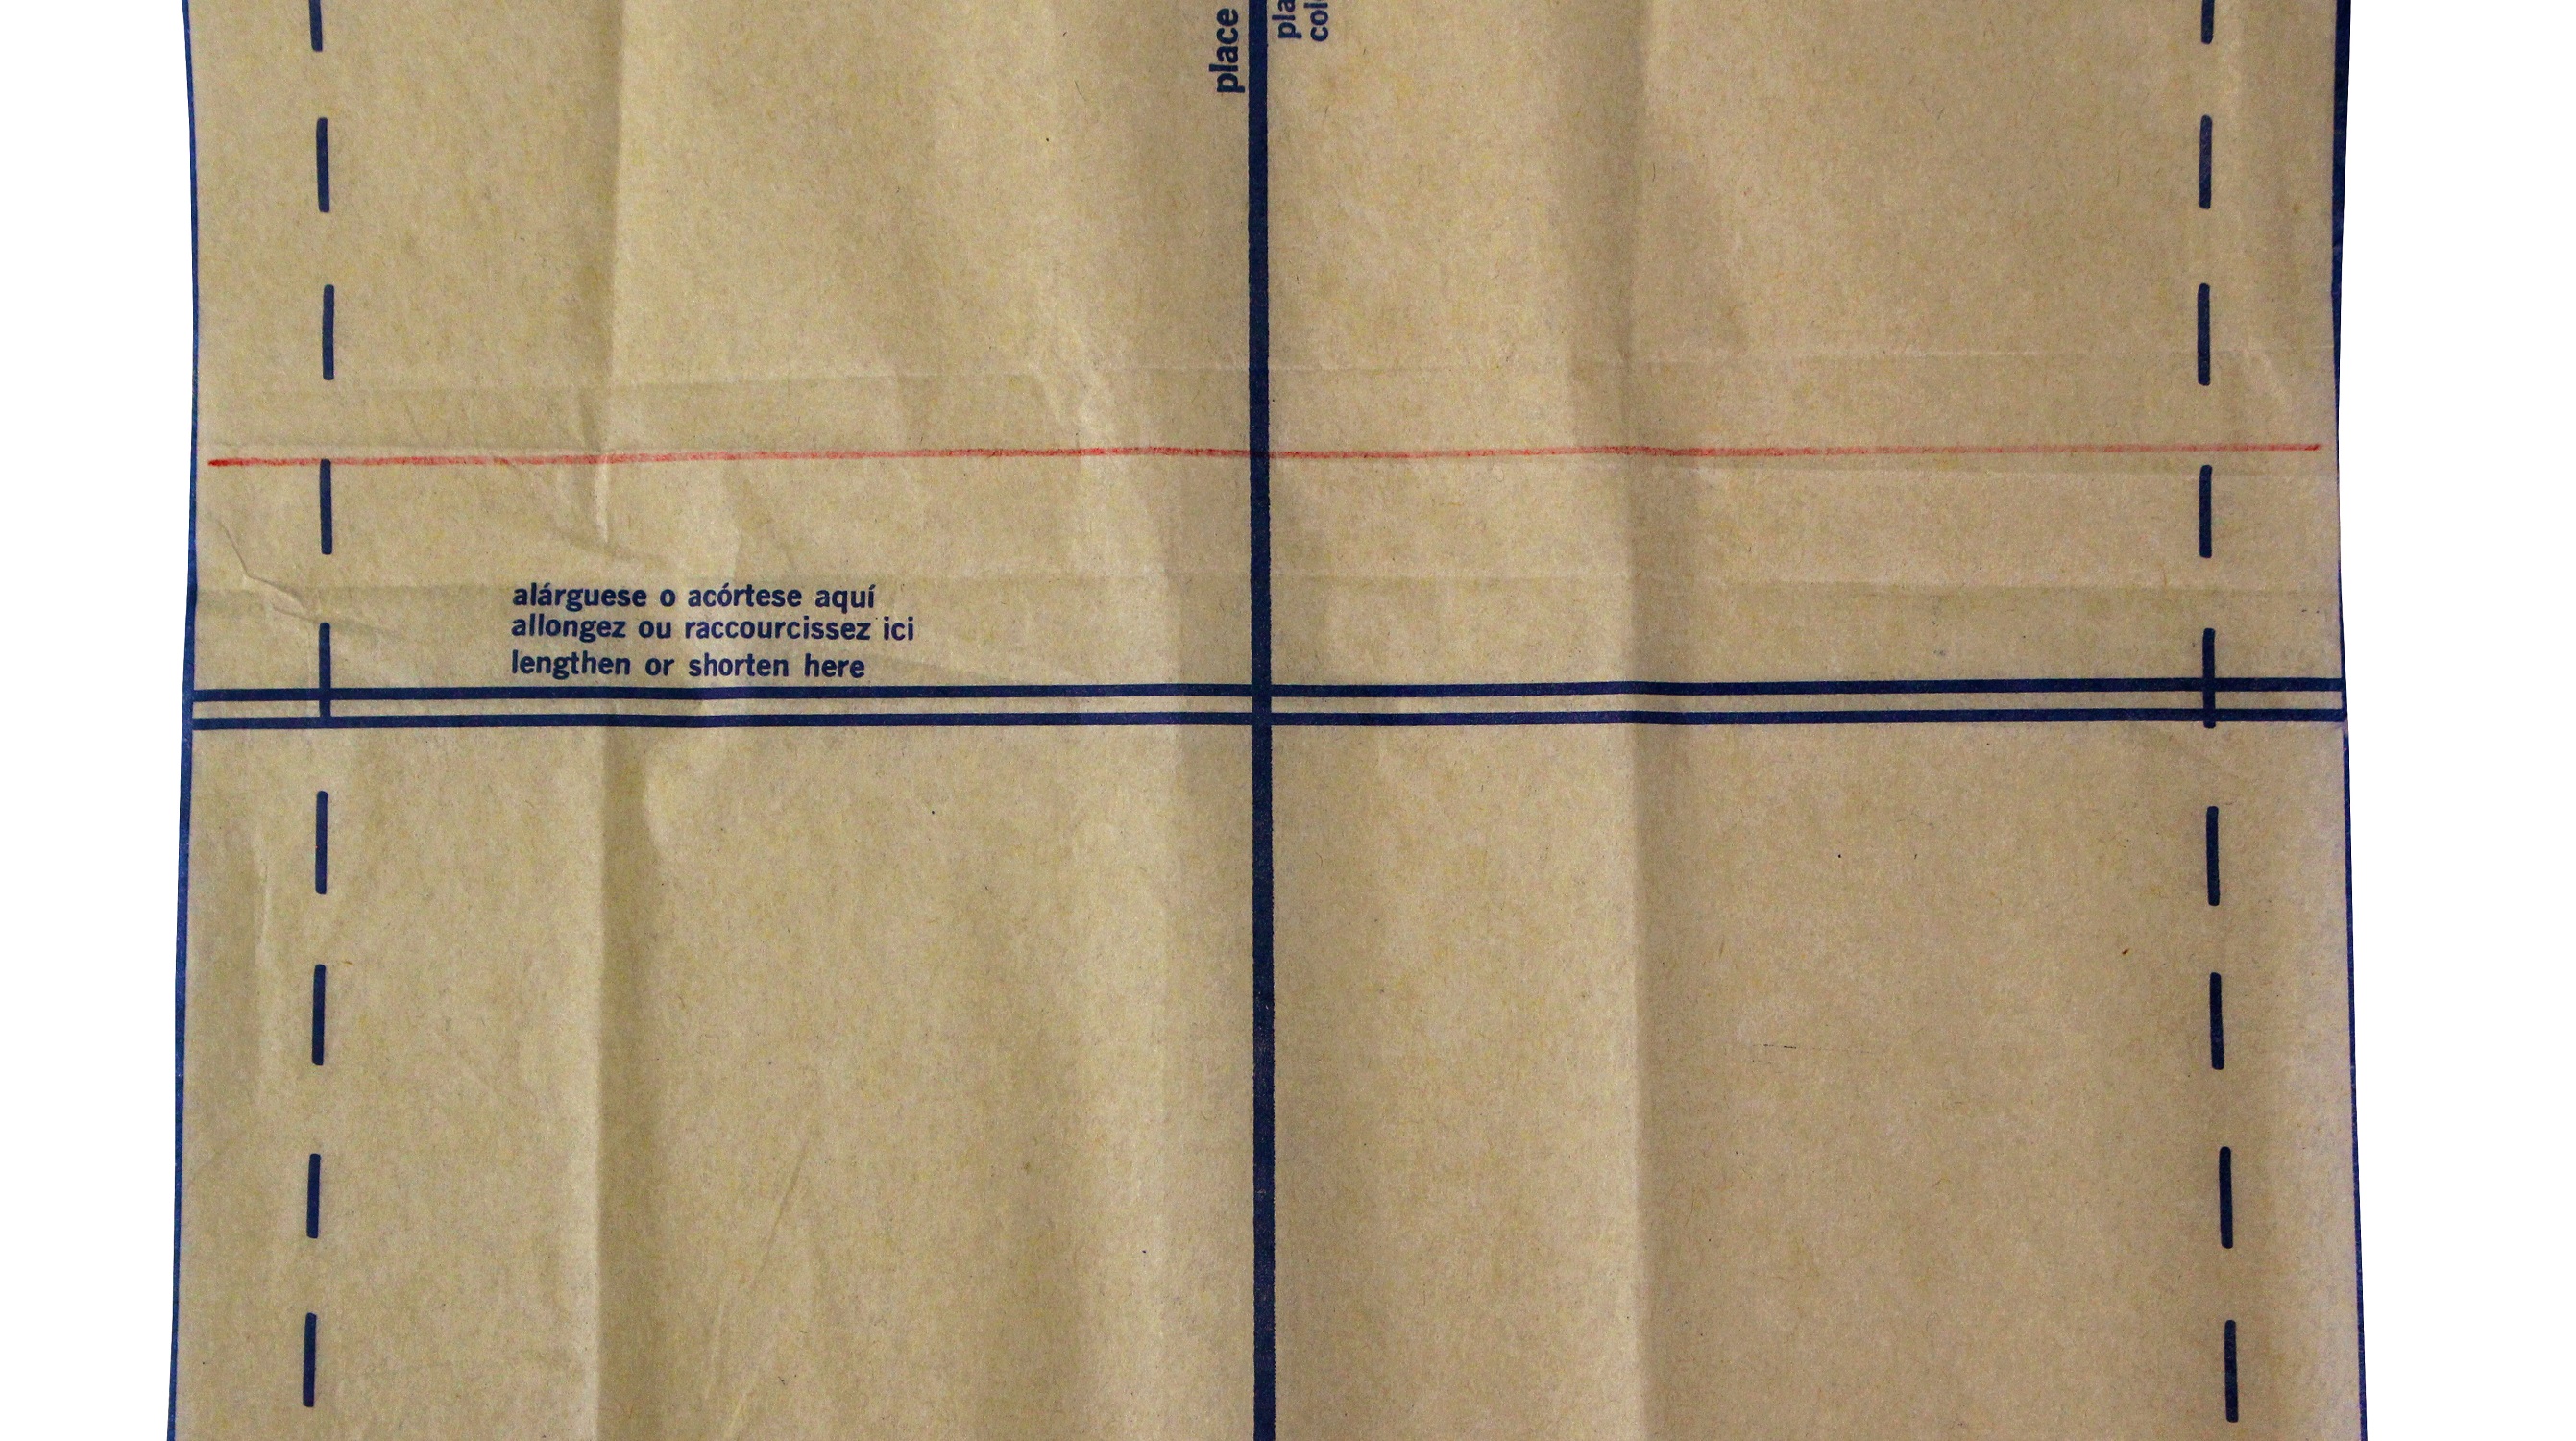
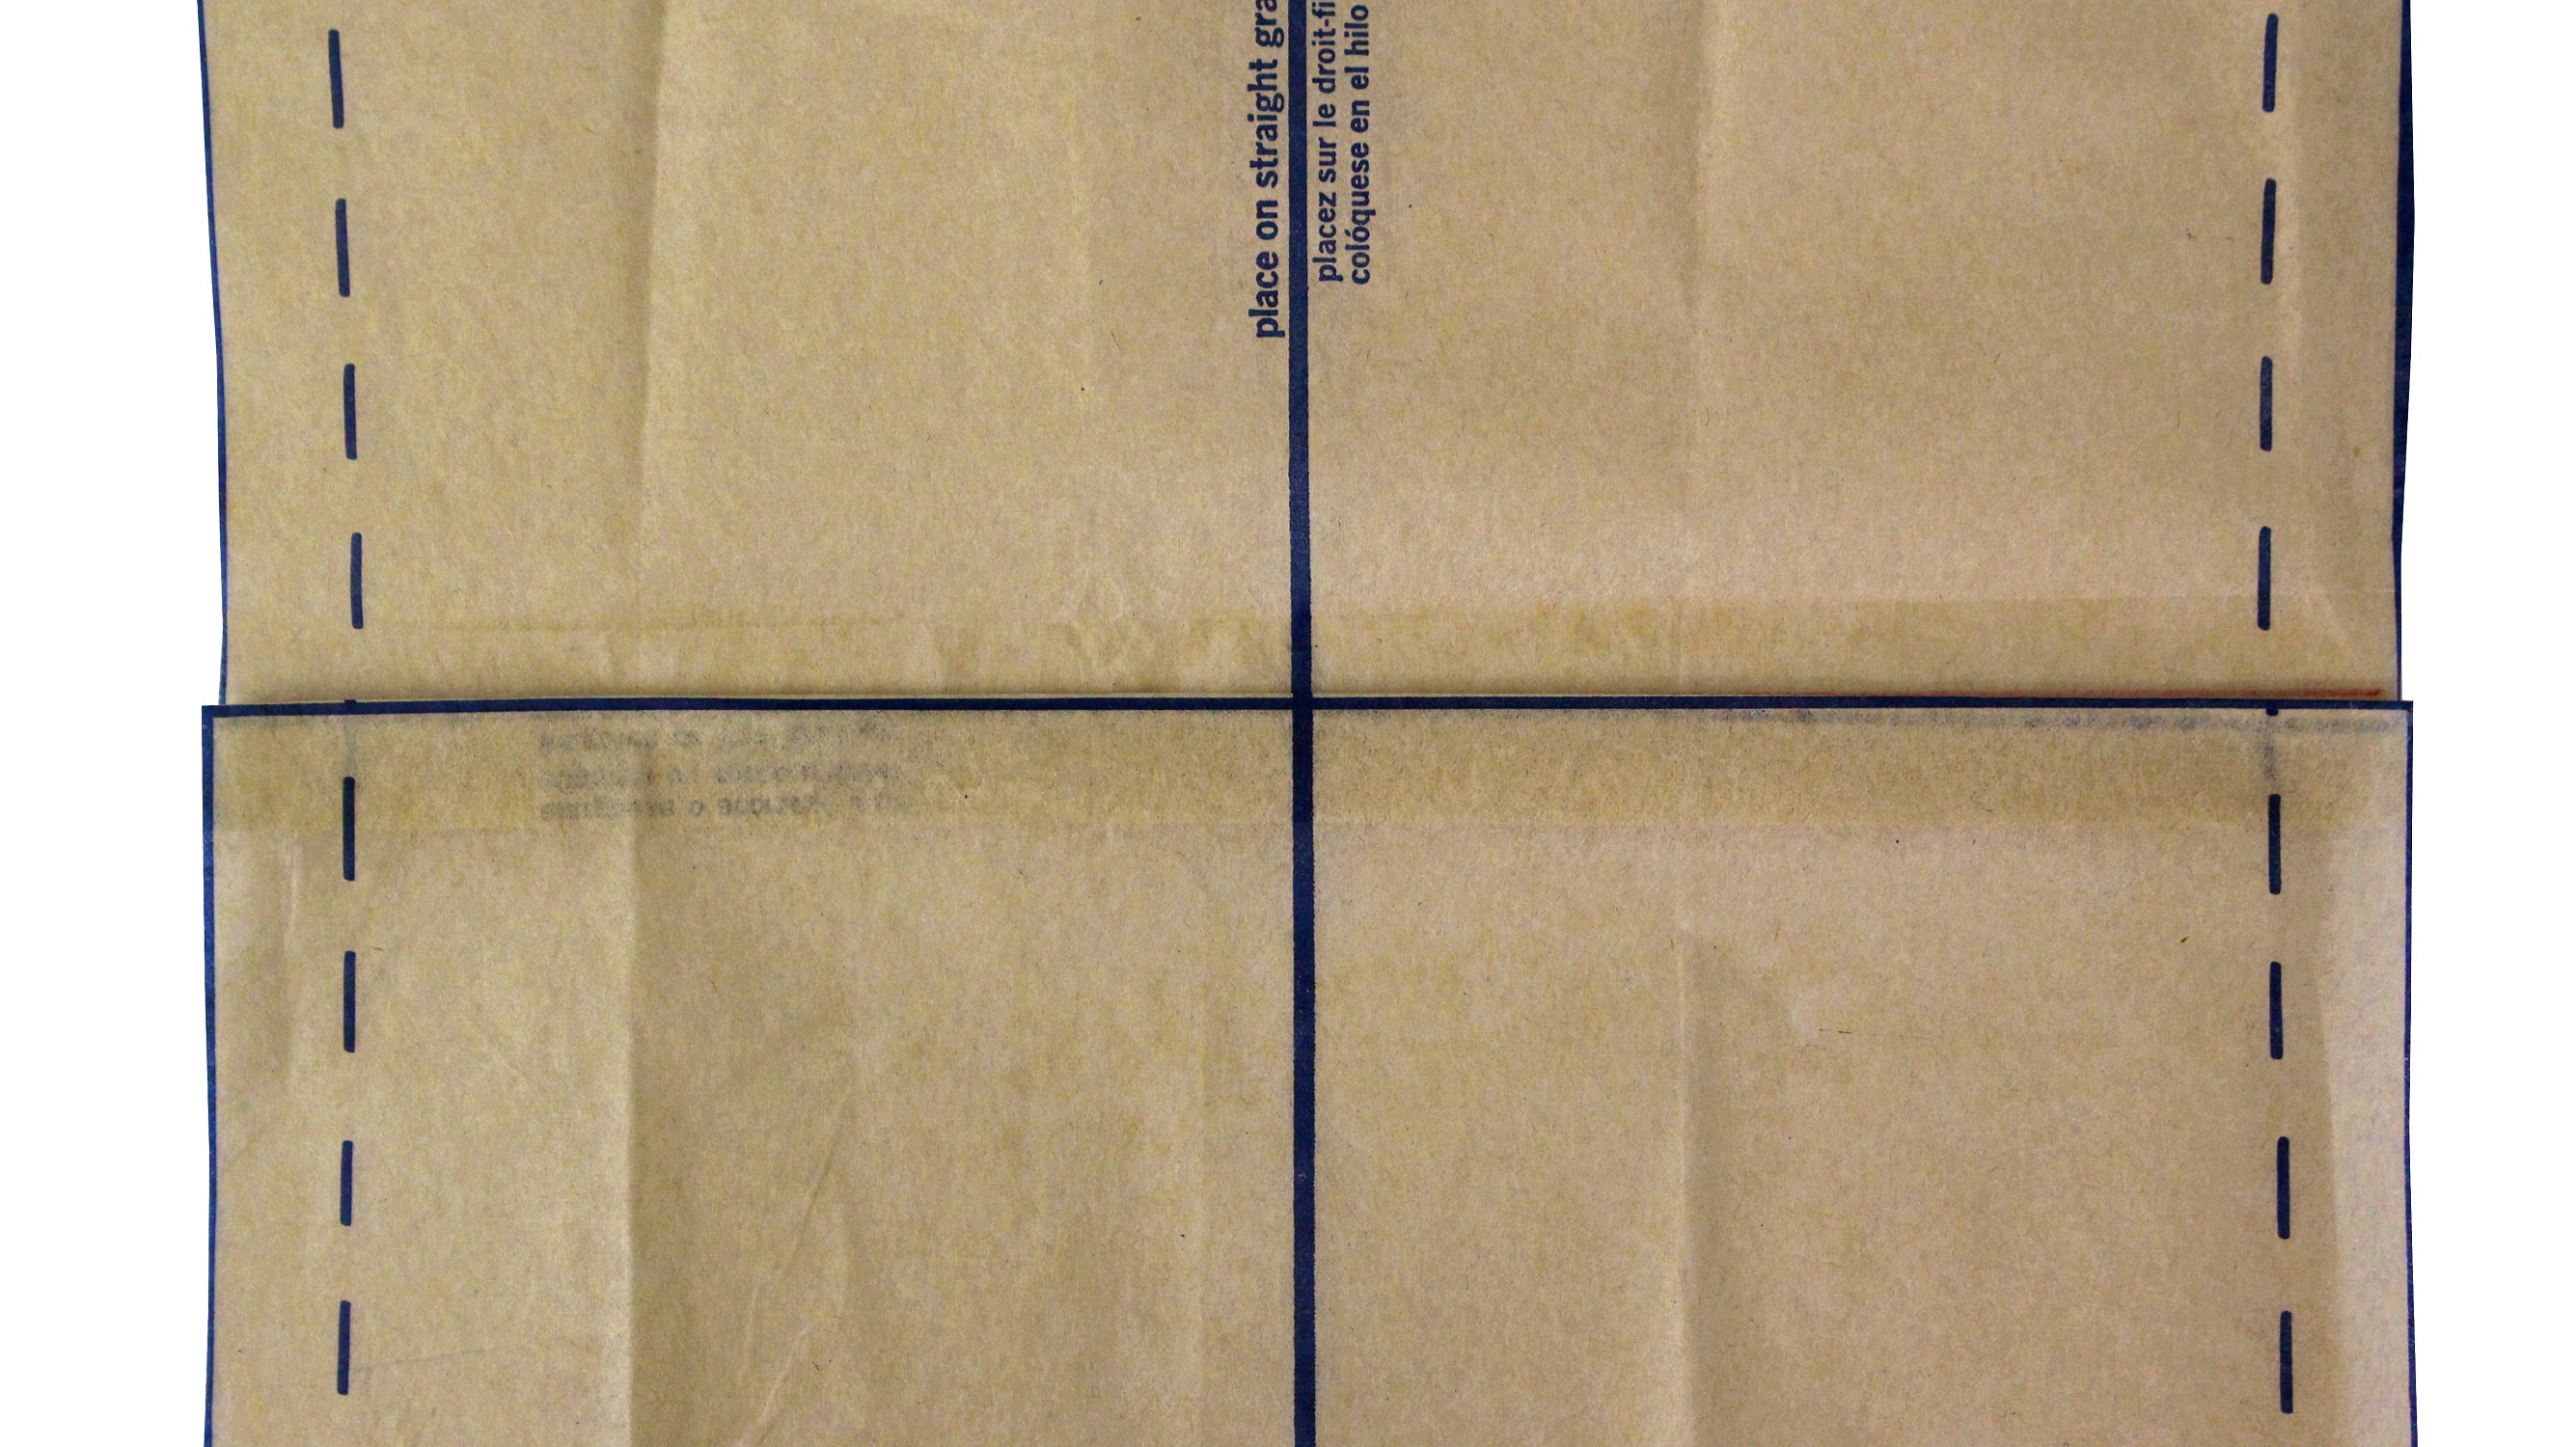
Then fold the paper up so the lines meet, and crease it into place.
You can pin or tape the paper into place if you want, too.
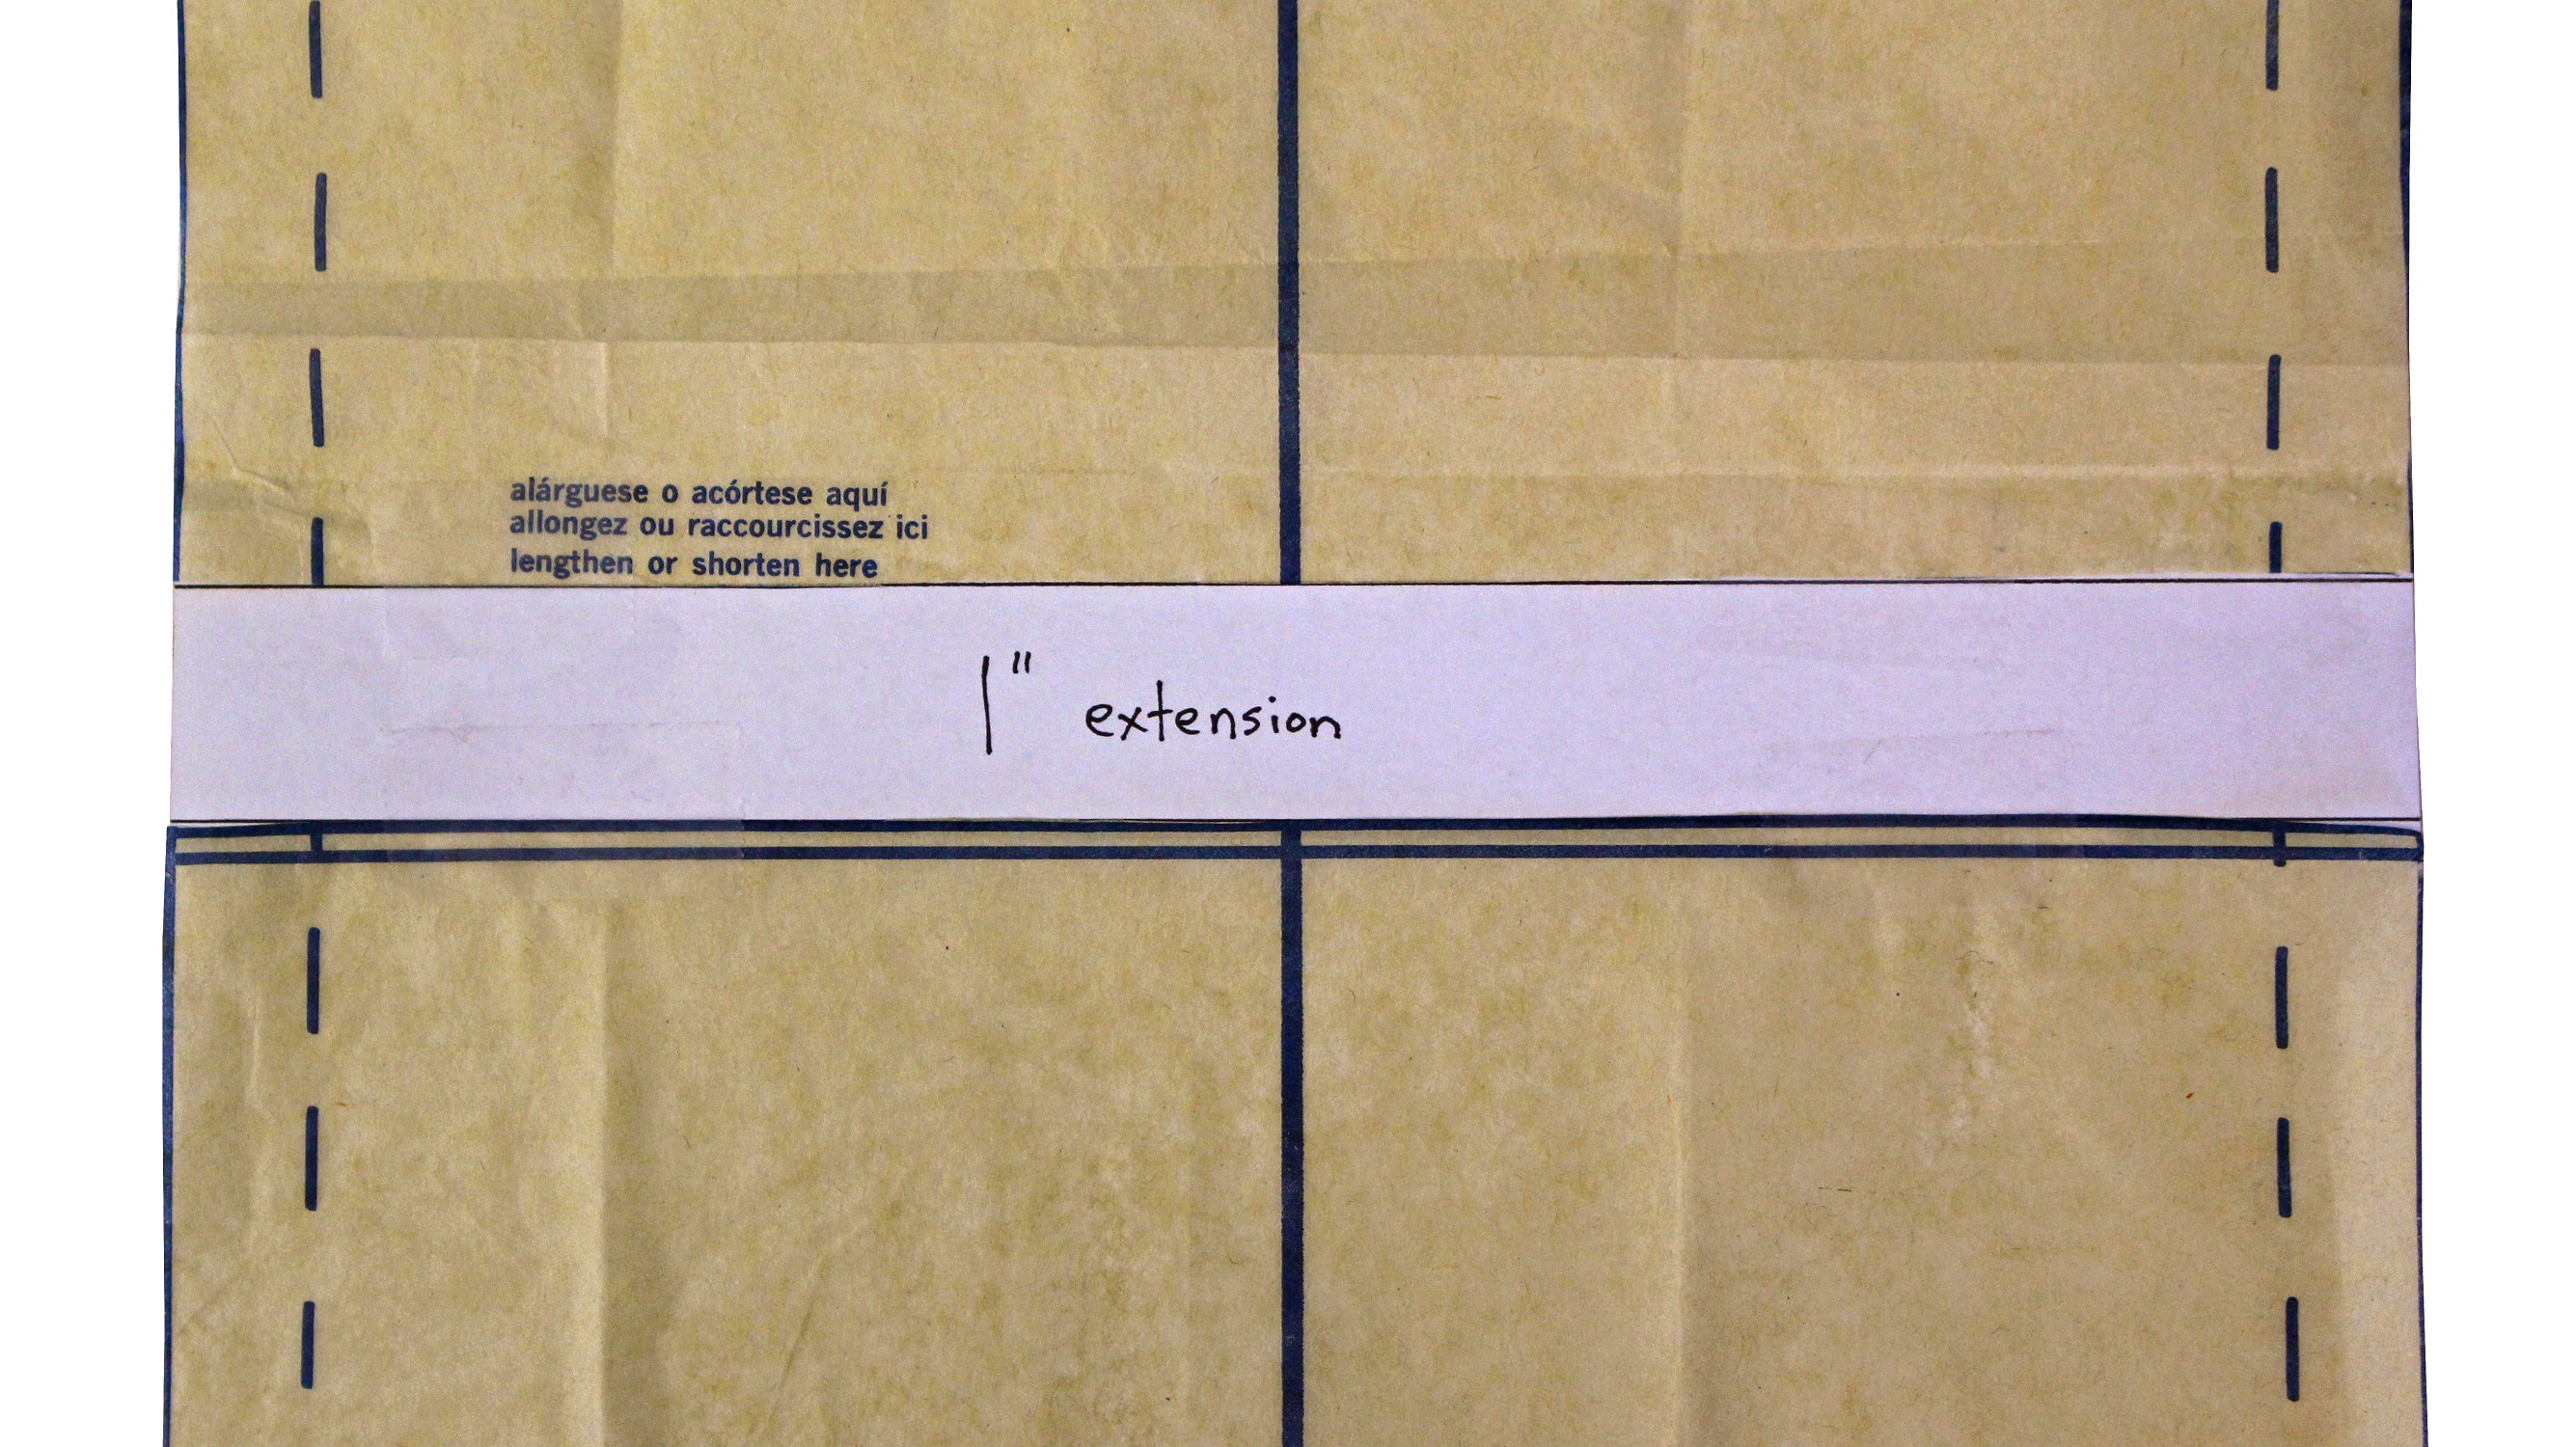
If the pattern’s too short for you and you need to lengthen it, cut the pattern piece into two separate pieces along one of the lengthen/shorten lines.
Slide some paper underneath and tape one side down onto the new paper.
Place the other piece however far away the pattern needs to be lengthened, use a ruler to make sure the lengthen/shorten lines are parallel, and tape the second piece to the paper.
I also like to write in how long the extension is.
Use whatever ruler works best to connect the upper and lower edges across the extension, and trim the paper insert down to size.
Obviously, if you’re doing any of these adjustments to the pattern, you’ll need to do them to every piece – or at least every relevant piece.
If you’re taking in the waist, that probably won’t affect the collar at all, but it does affect the lining, if you’re making something that’s lined.
If you’re lengthening or shortening the pattern, you need to do it by the same amount on every panel – front, side front, side back, back, and all corresponding facing and lining pieces, or it won’t go together correctly.
There’s an abundance of other, unusual fitting issues, but just these techniques should help you to achieve an improved fit with your pattern. 🙂
Intermediate Sewing Course
If you found this helpful, you may be interested in our Intermediate Sewing course.
With nearly 2.5 hours of sewing instruction over 20 lessons, this course is packed with the very best methods and techniques to help you level up your sewing game.
You can learn at your own pace, and you can take the sewing lessons as many times as you want.
Experience for yourself how enjoyable sewing can be, and how fast you can learn!
This course includes:
- 20 Video Lessons (in Full HD)
- Nearly 2.5 hours of magical sewing instruction
- Book-length PDF download with hundreds of photos and diagrams
- Instant, lifetime access
- 100% money-back guarantee
Subscribe to our SEWING WIZARD NEWSLETTER for FREE sewing lessons, announcements, special offers, and more!
Thousands of
happy costumers!
It's been a privilege to have helped so many sewing wizards along their journey.
Here's what people are saying about our sewing patterns!




Responses